


Rank 7
October 2, 2021

Installing a tado Smart Thermostat - easy yet difficult - looking positive and already helping

  • October 2, 2021
  • 28 replies
  • 7338 views

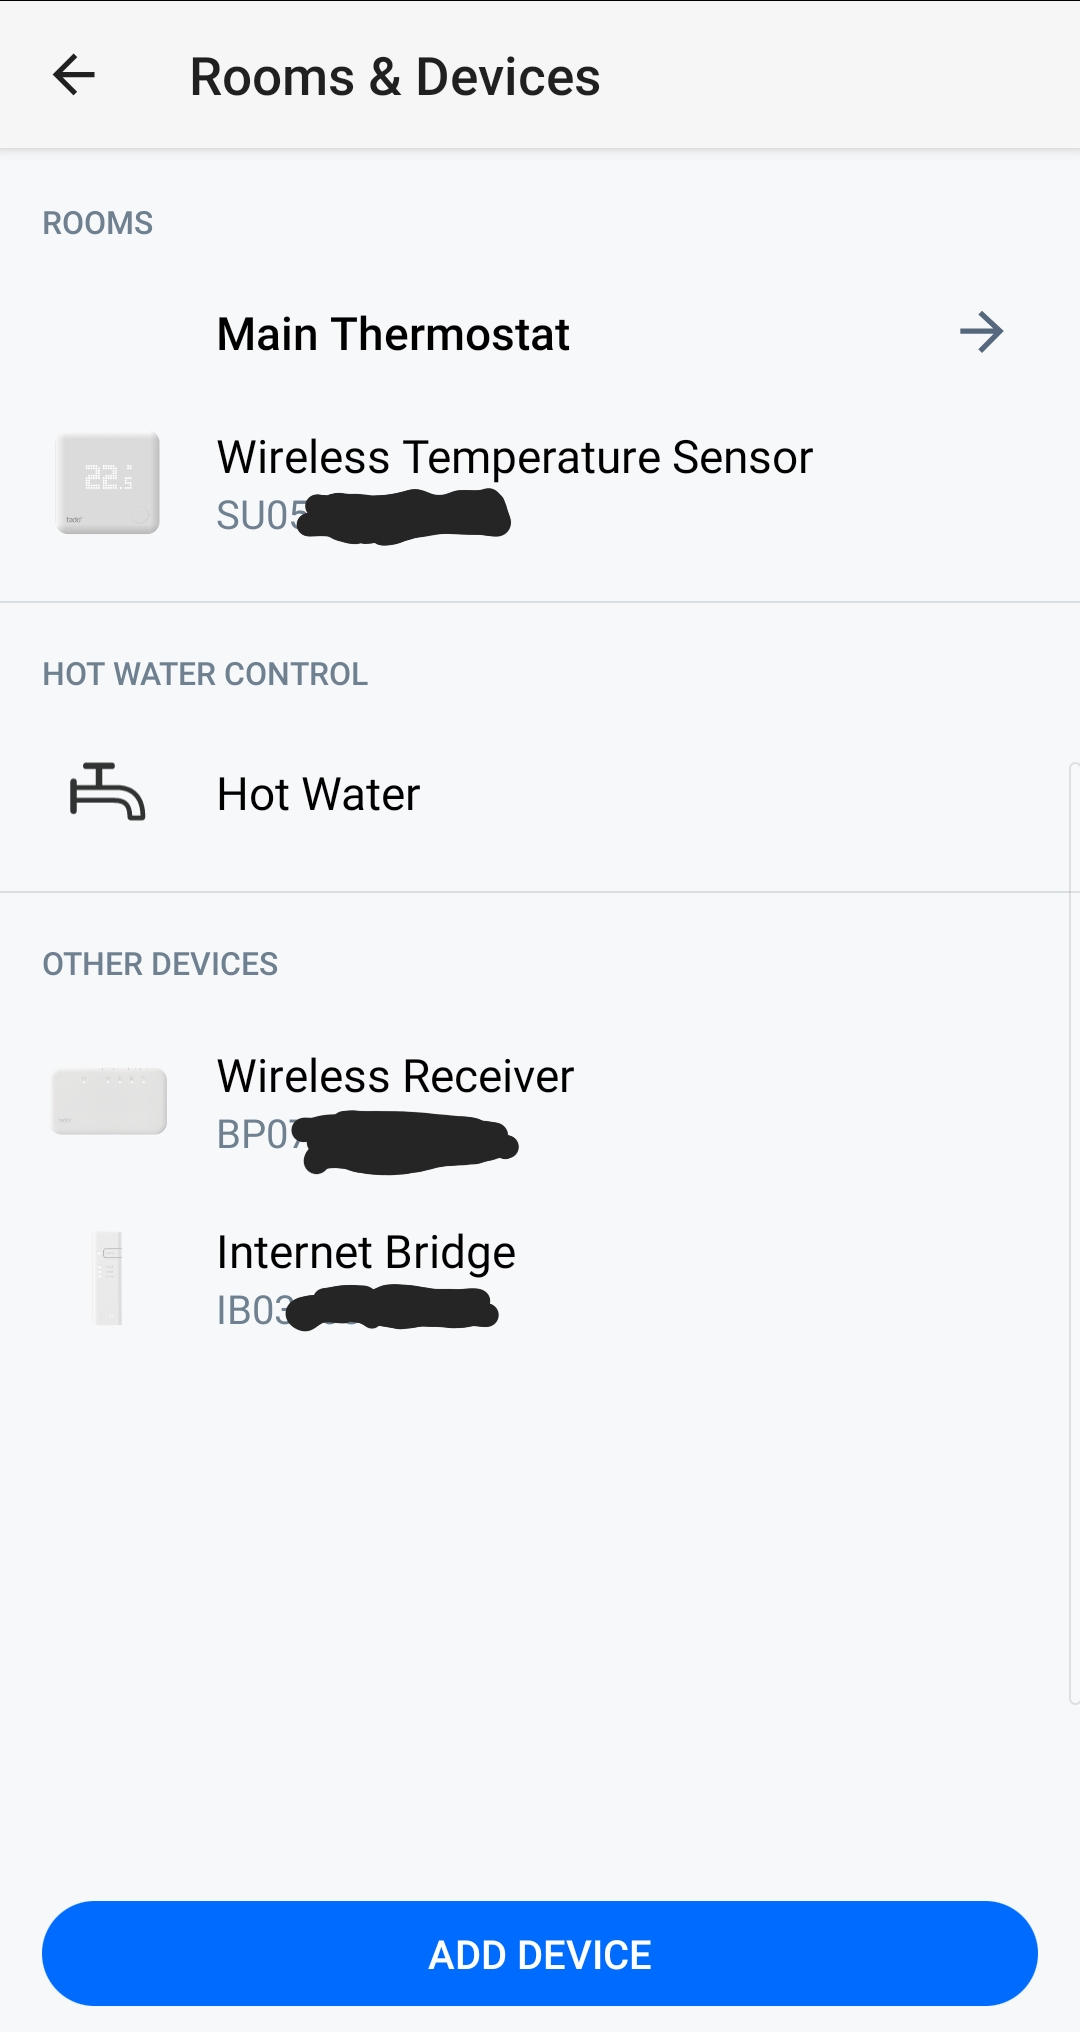
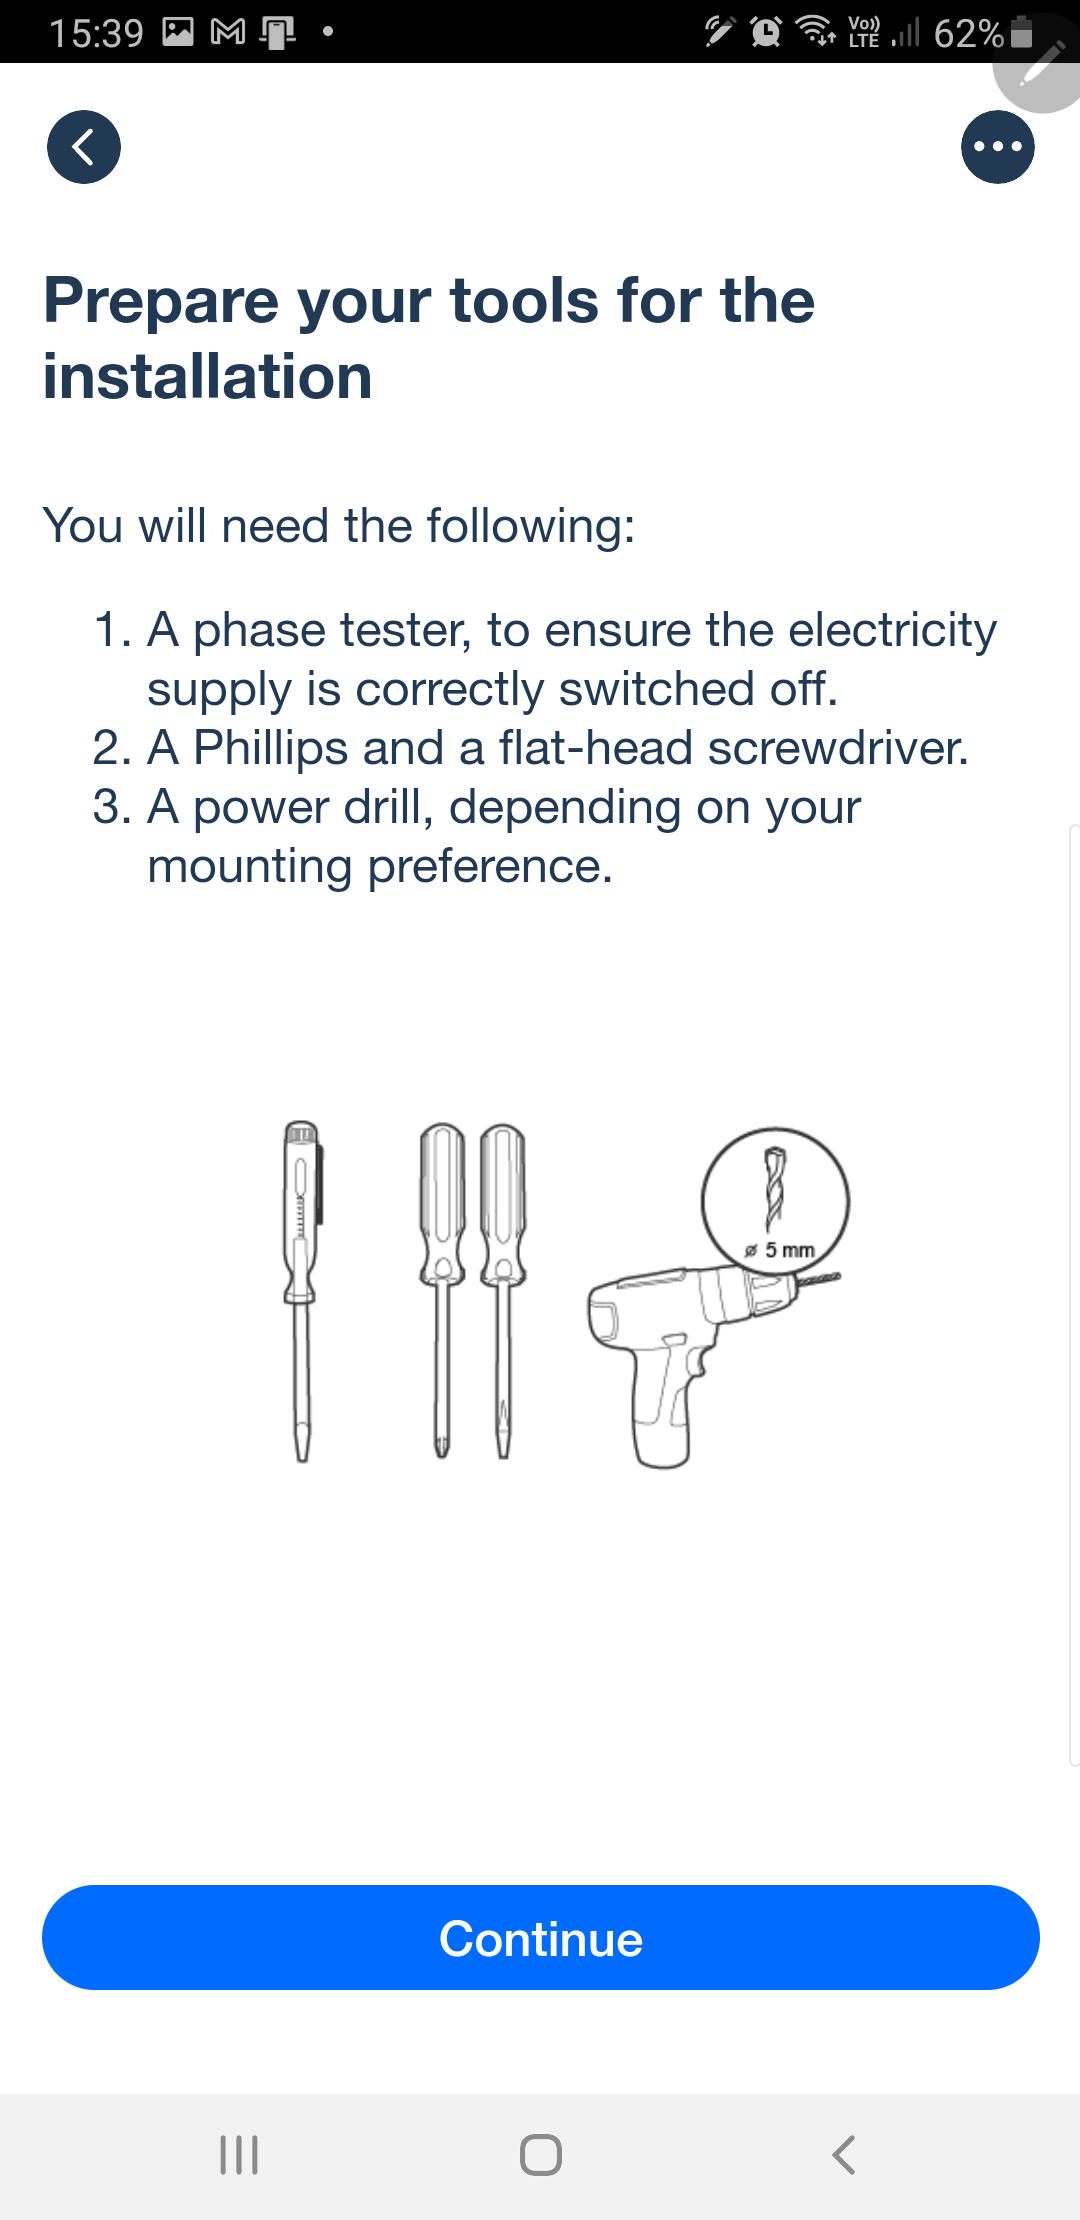
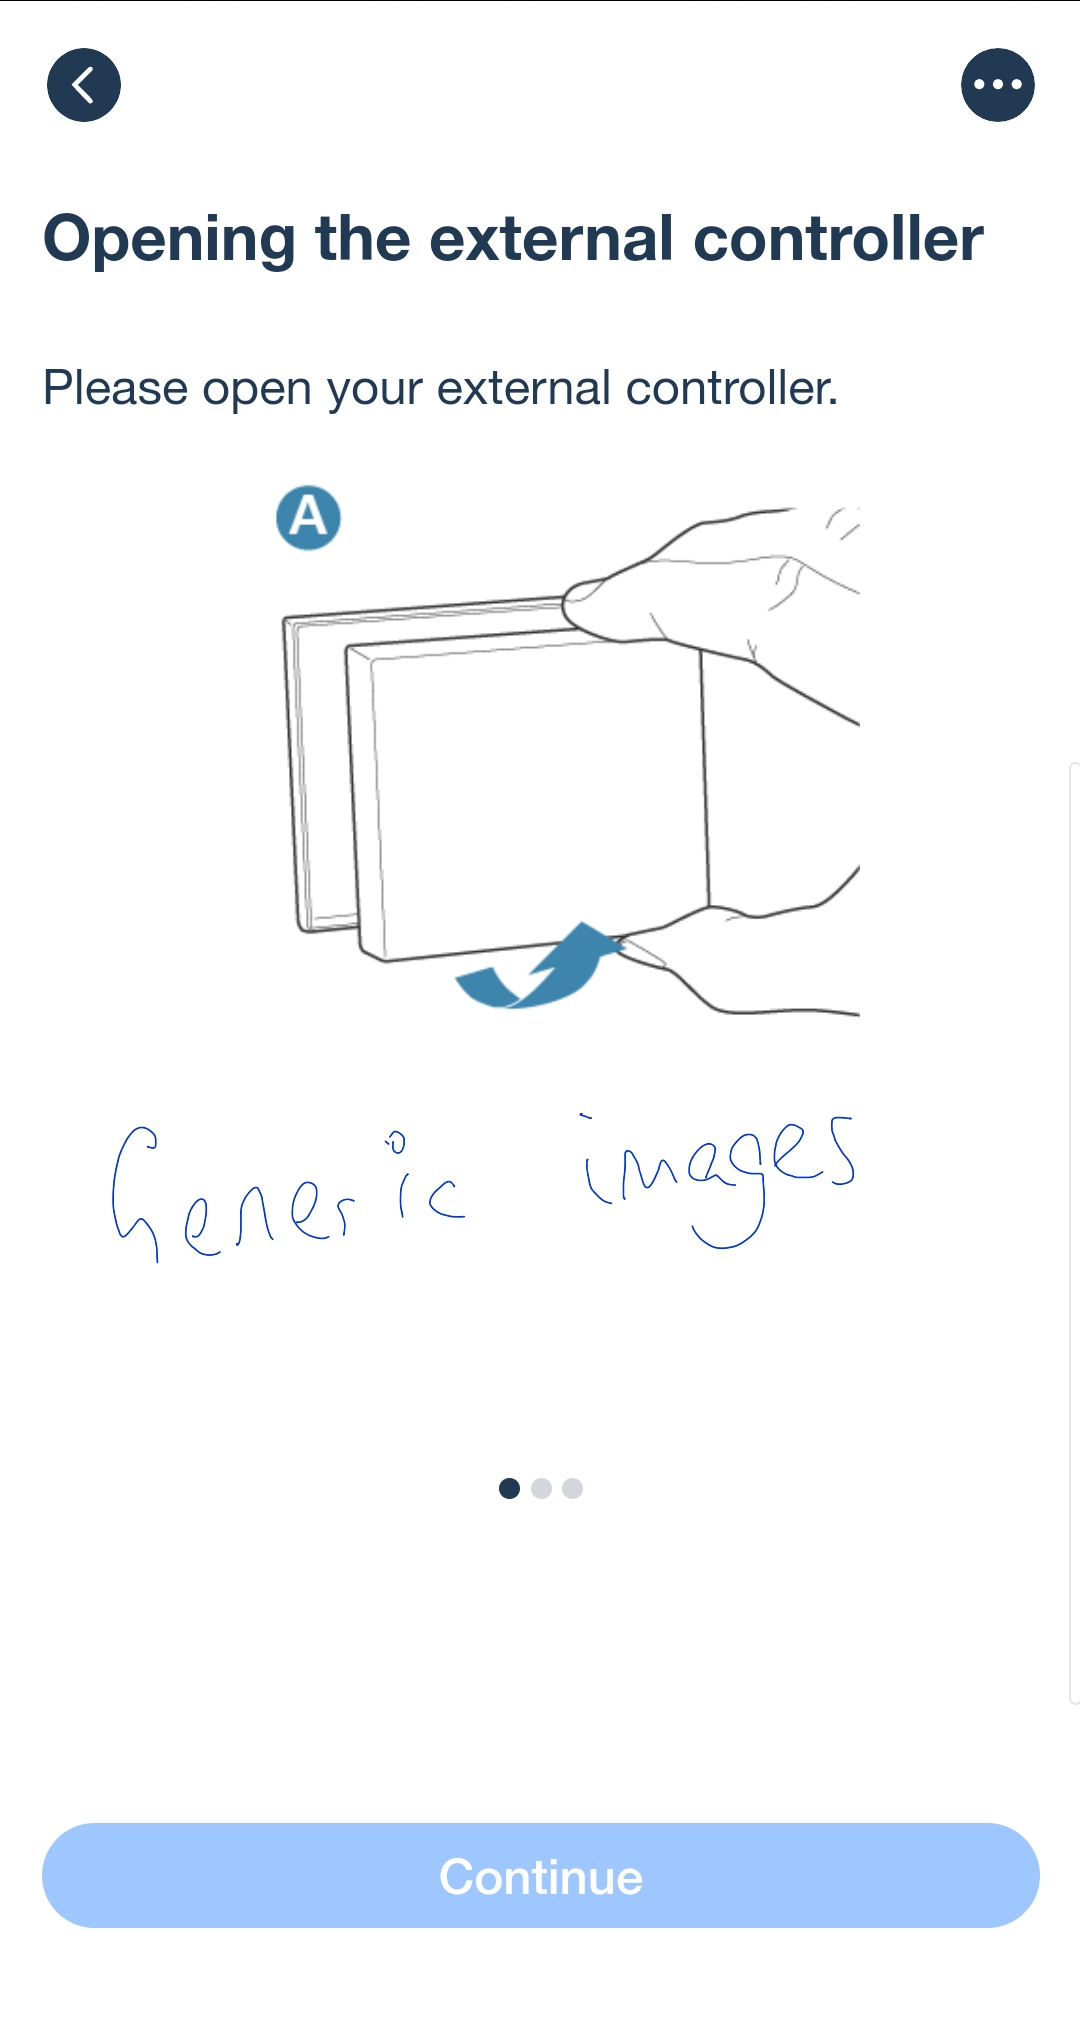
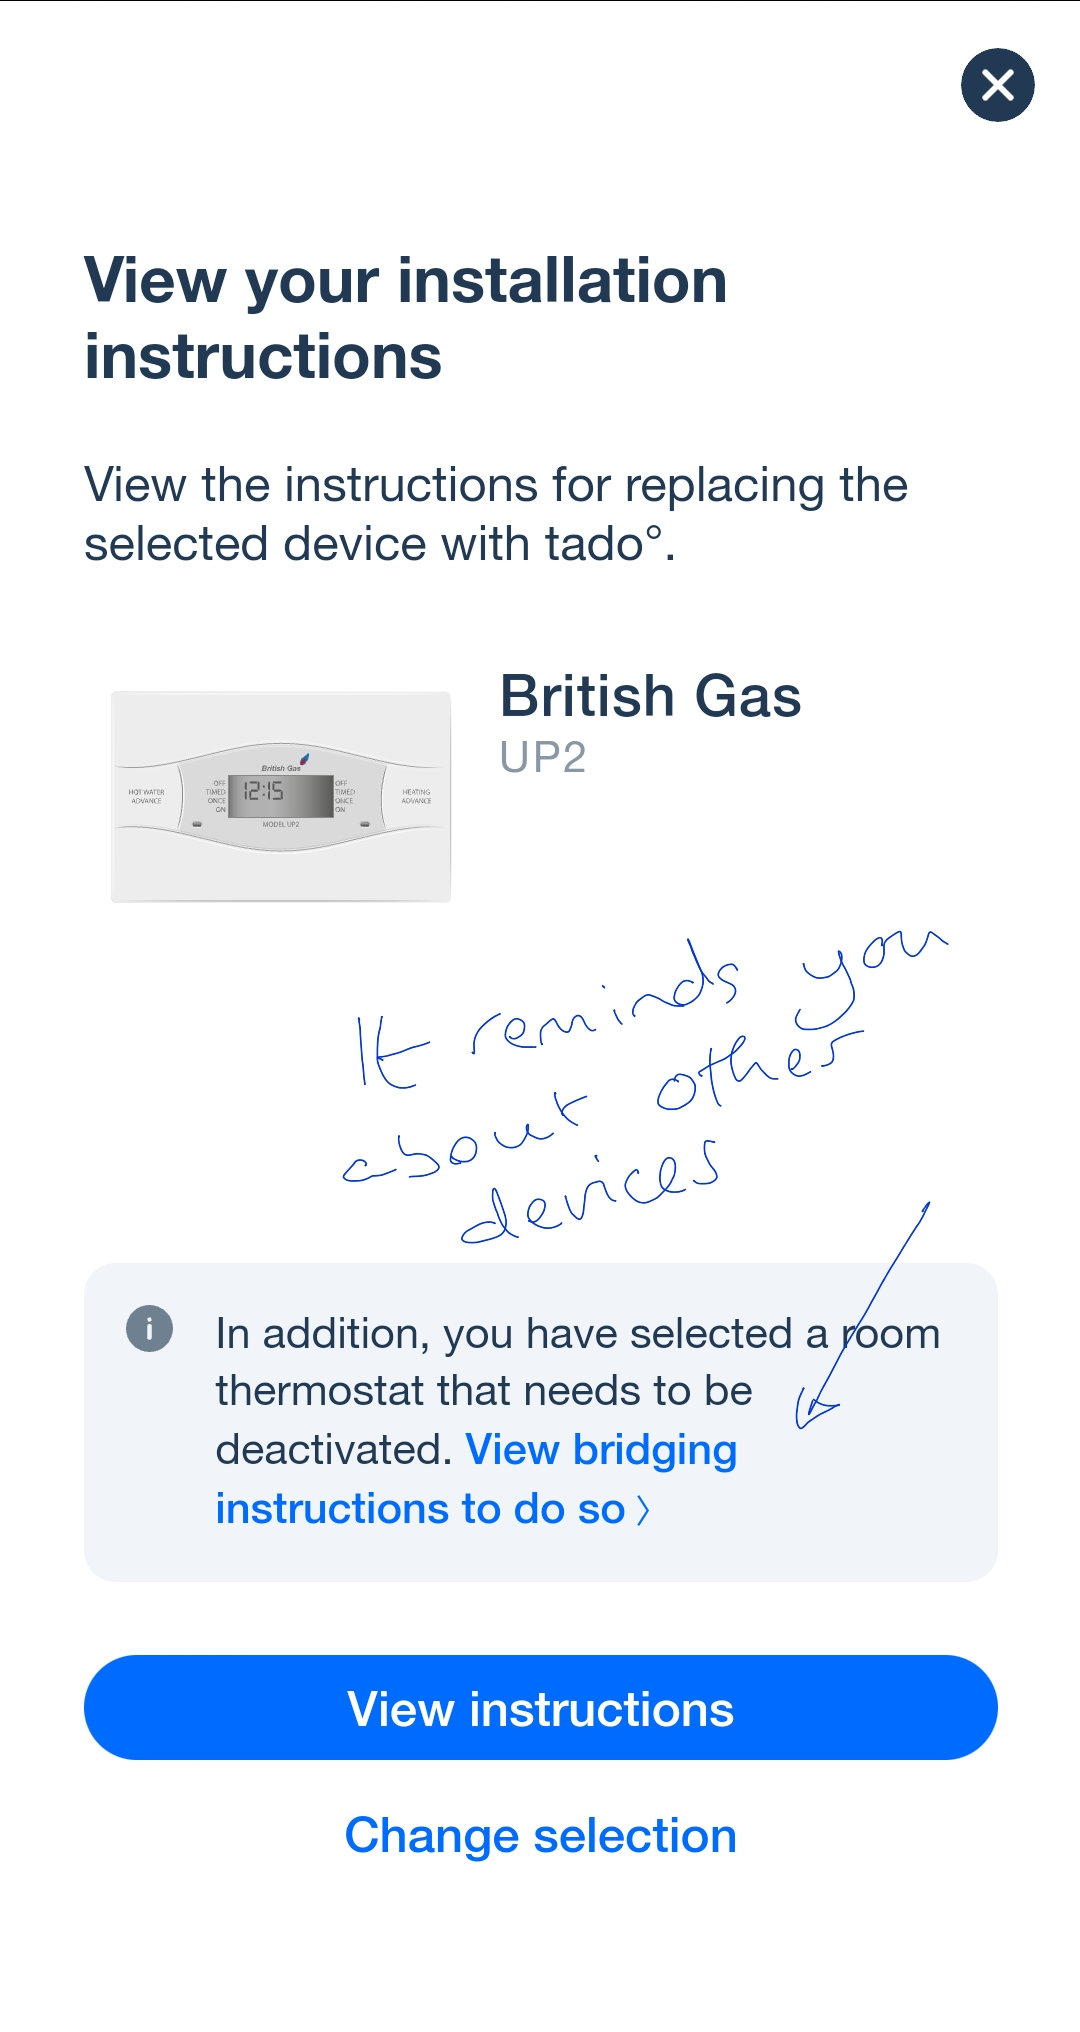
All was going swimmingly. The app installed. The tado arrived. I started the process and the app asked for the name and model number of thermostat and boiler controller. Happily it recognised my specific British gas models. Each device installation begins with scanning its QR code, and you are then given simple diagrams and instructions. The app led me step-by-step, screen by screen, through the installation, using in part generic diagrams and in part model-specific wiring guides. At each step, you have to touch the confirm button before the app lets you see the next step. You cannot look ahead.


First is installing the Internet bridge, which has short 25cm ethernet and usb cables. Happily my router had both an unused ethernet socket and a usb slot. So the power comes from that, and I didn't need the supplied mains charger. The app checks that it has connected up properly. I then got a welcome email from tado.

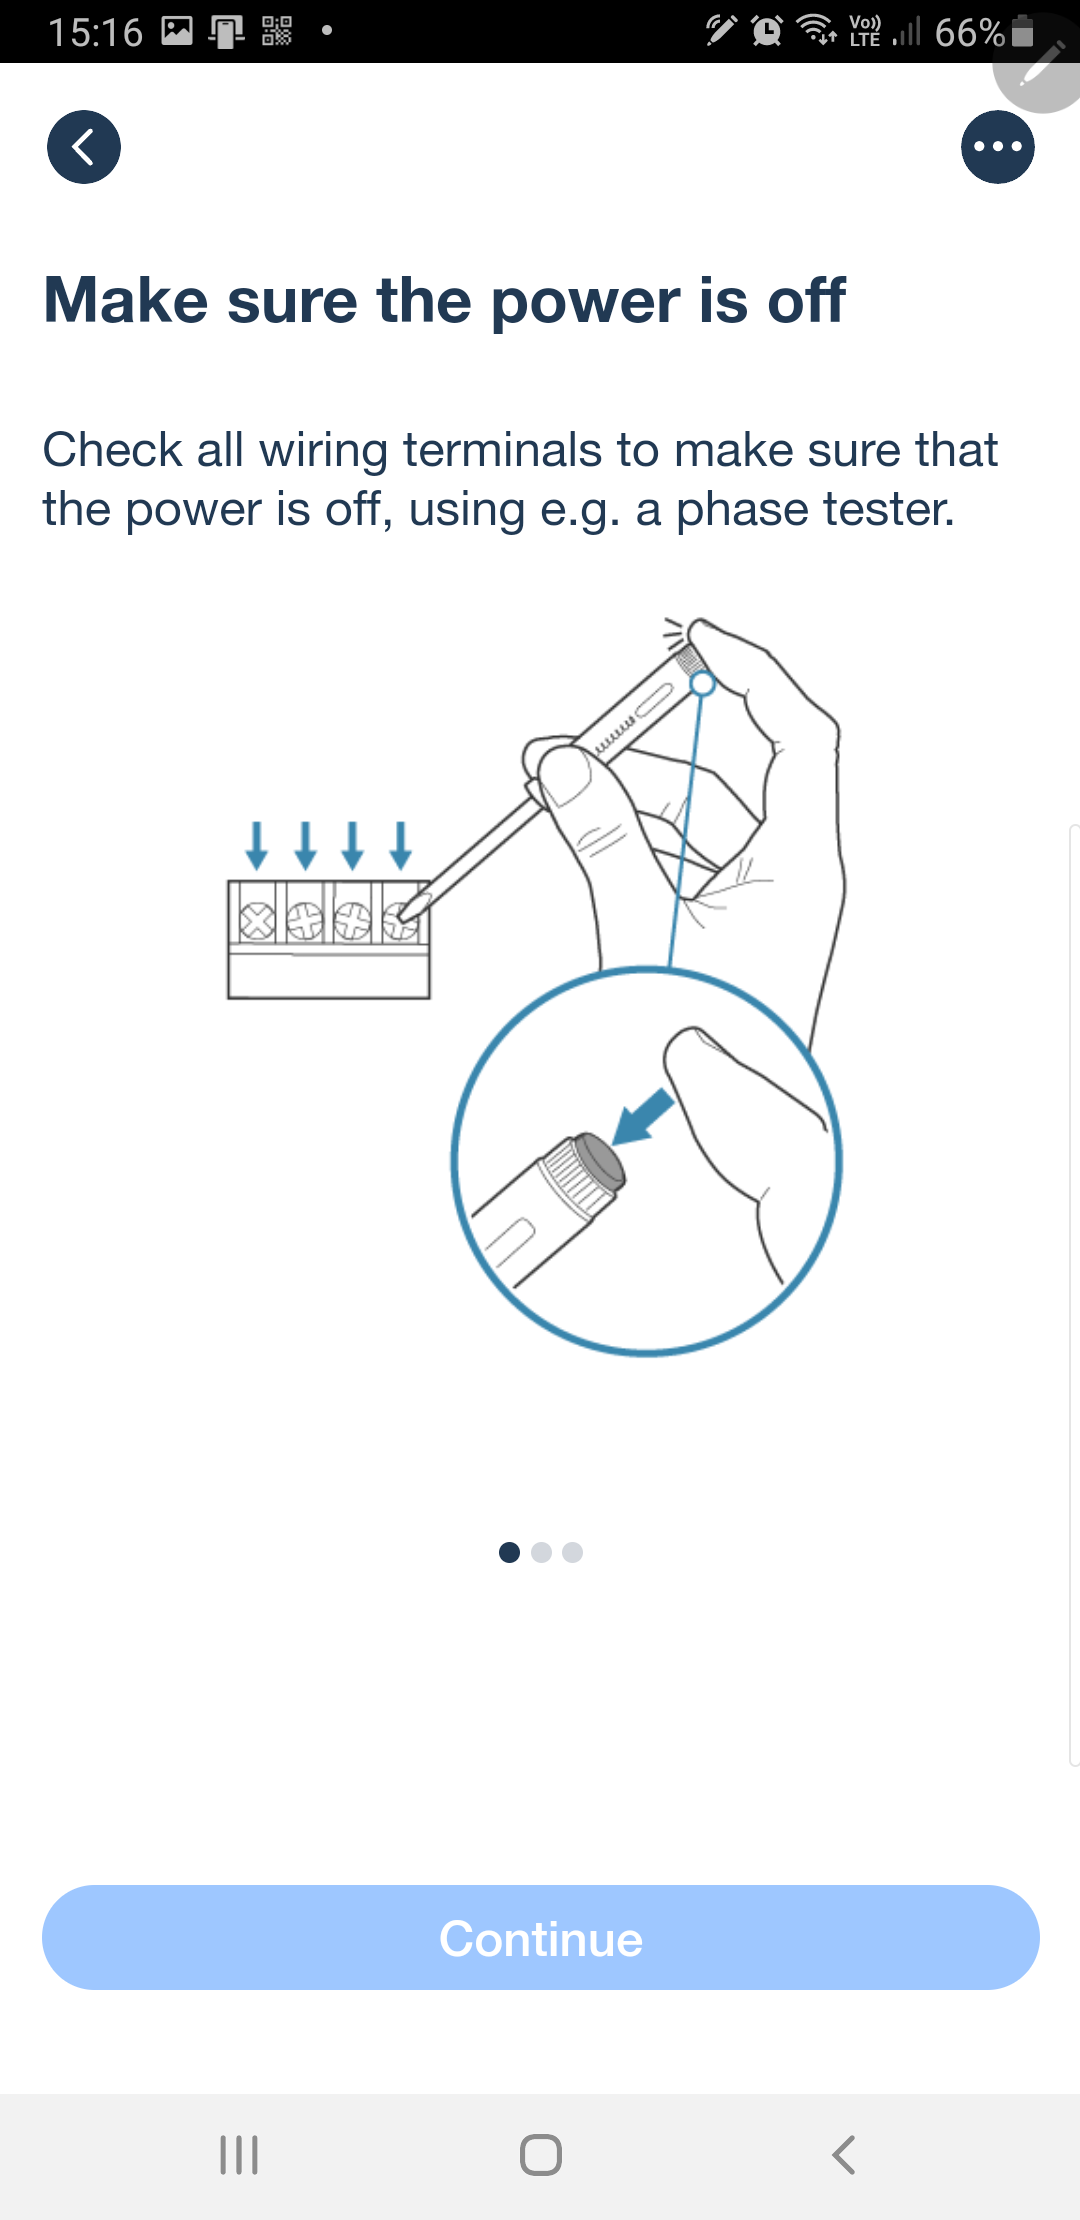
Then you switch off the power to the heating system, and check that it is off. I have an isolating switch near the boiler, so didn't need to use the main fuse board.

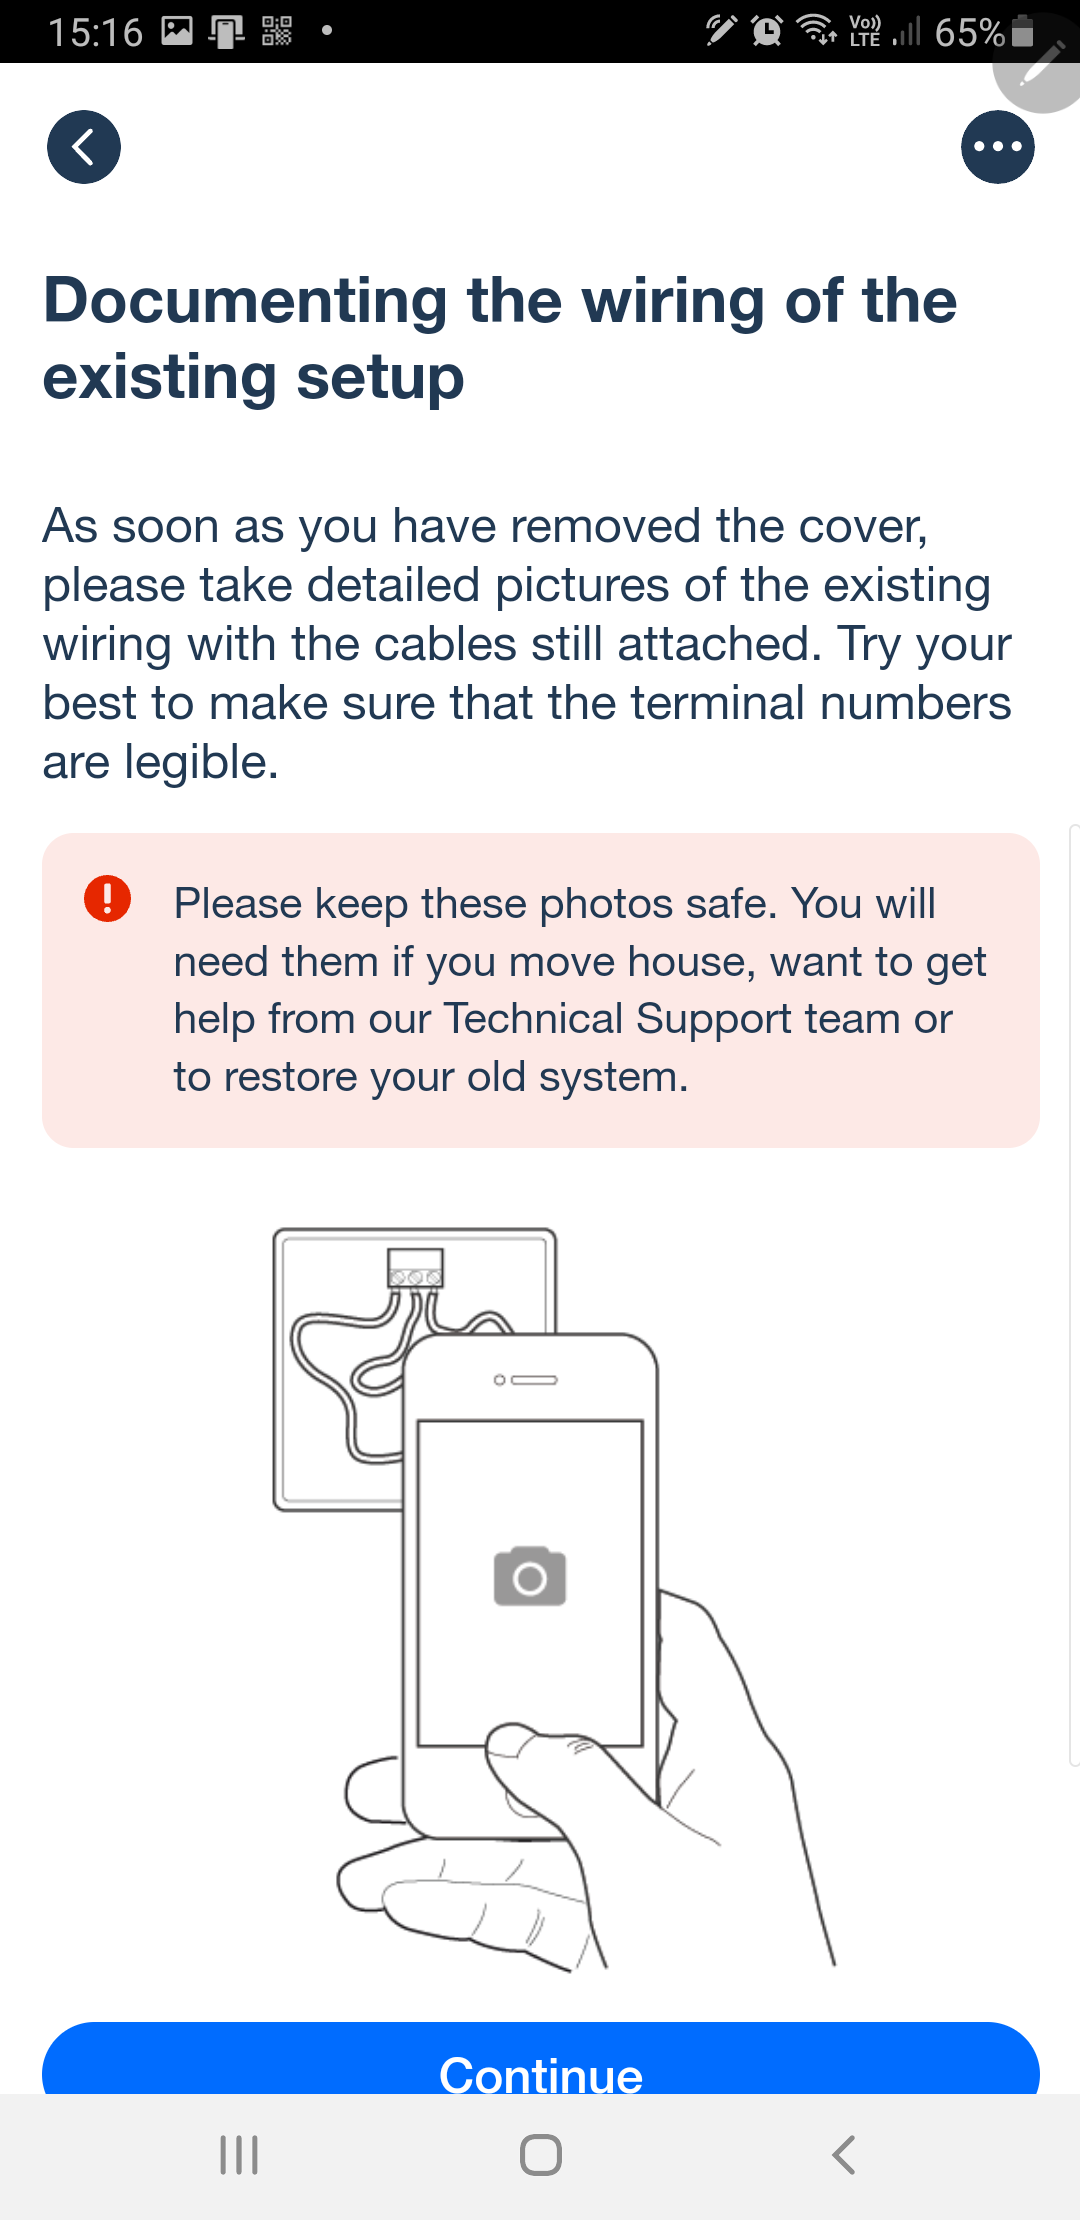
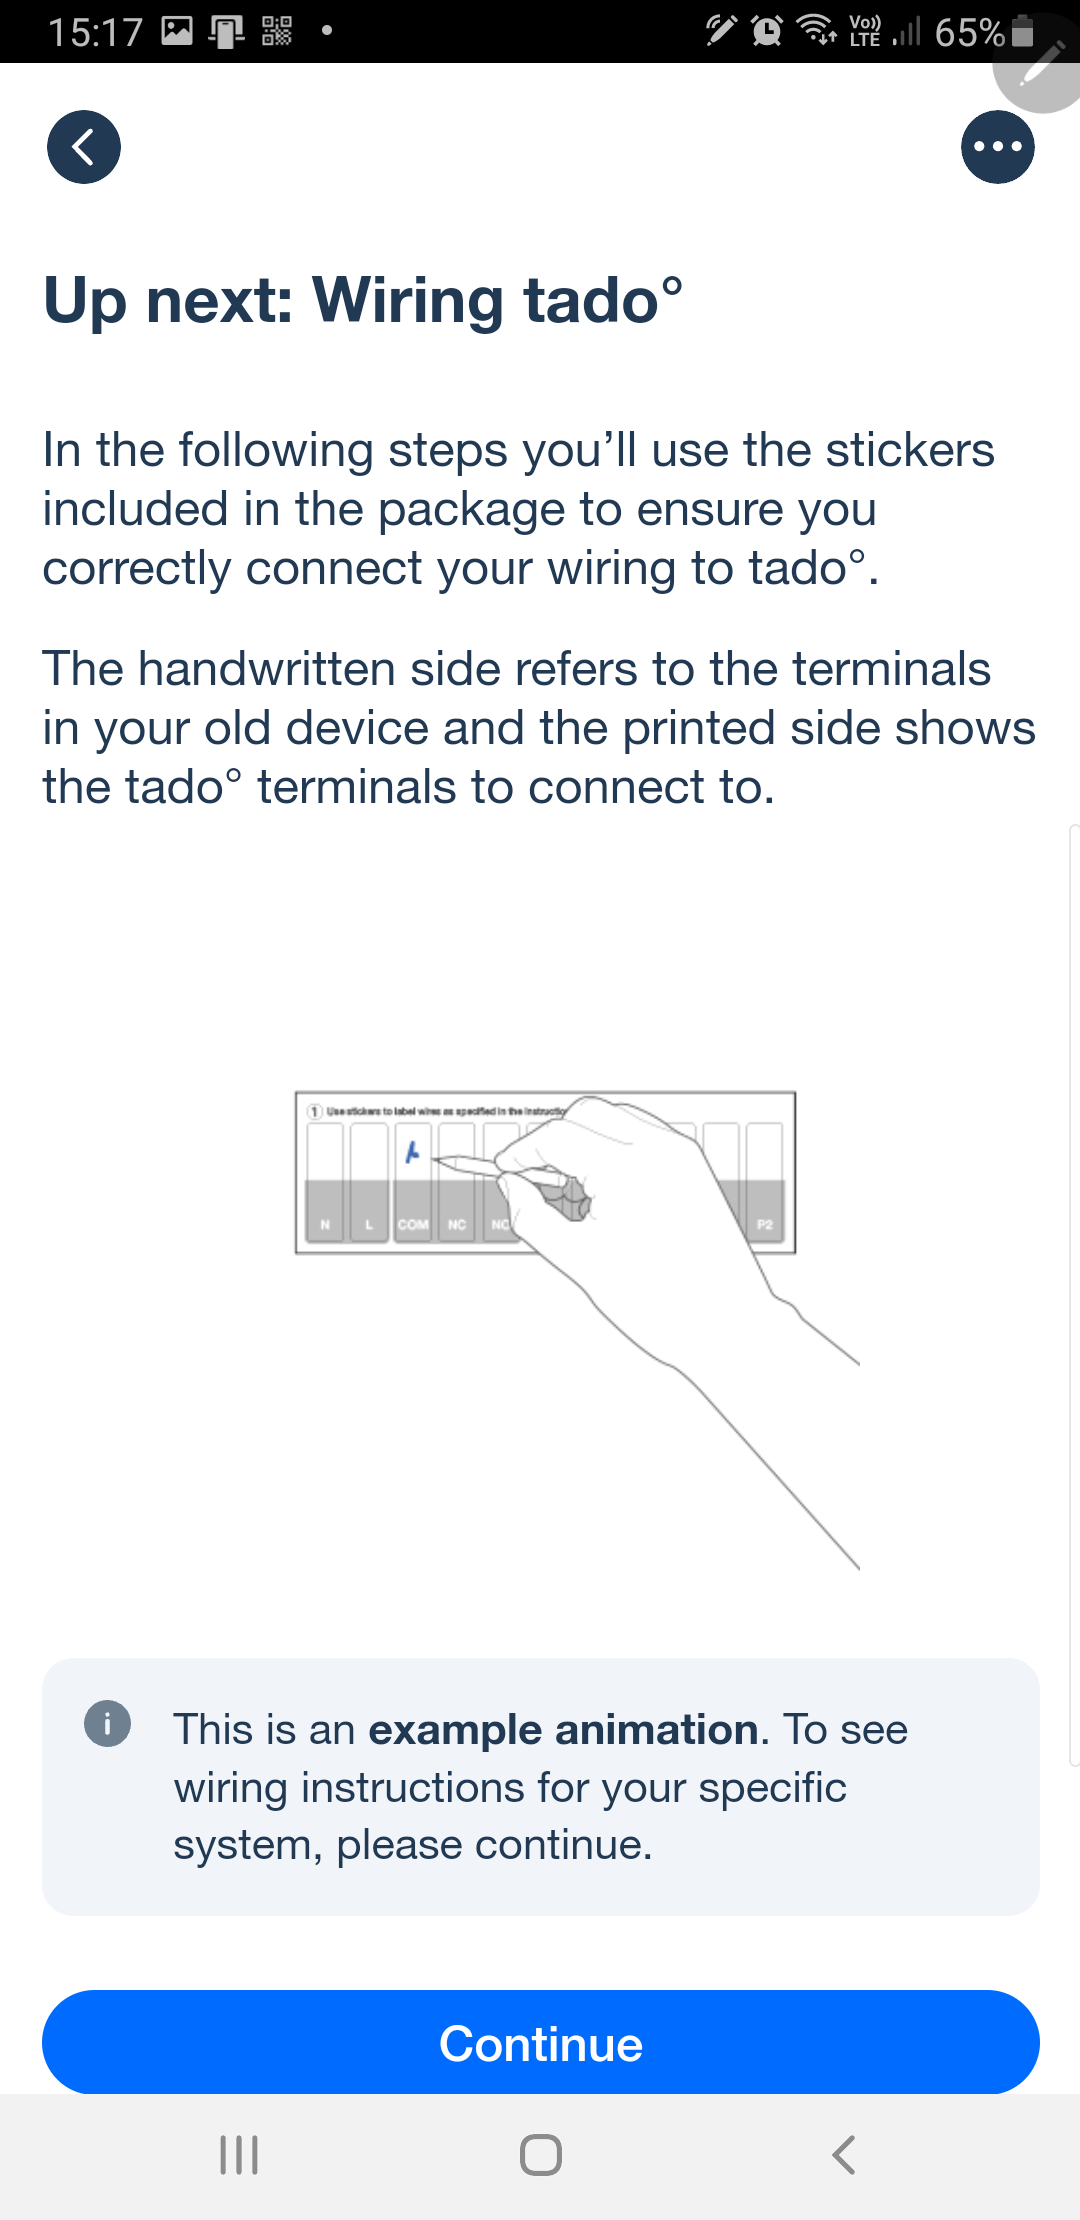
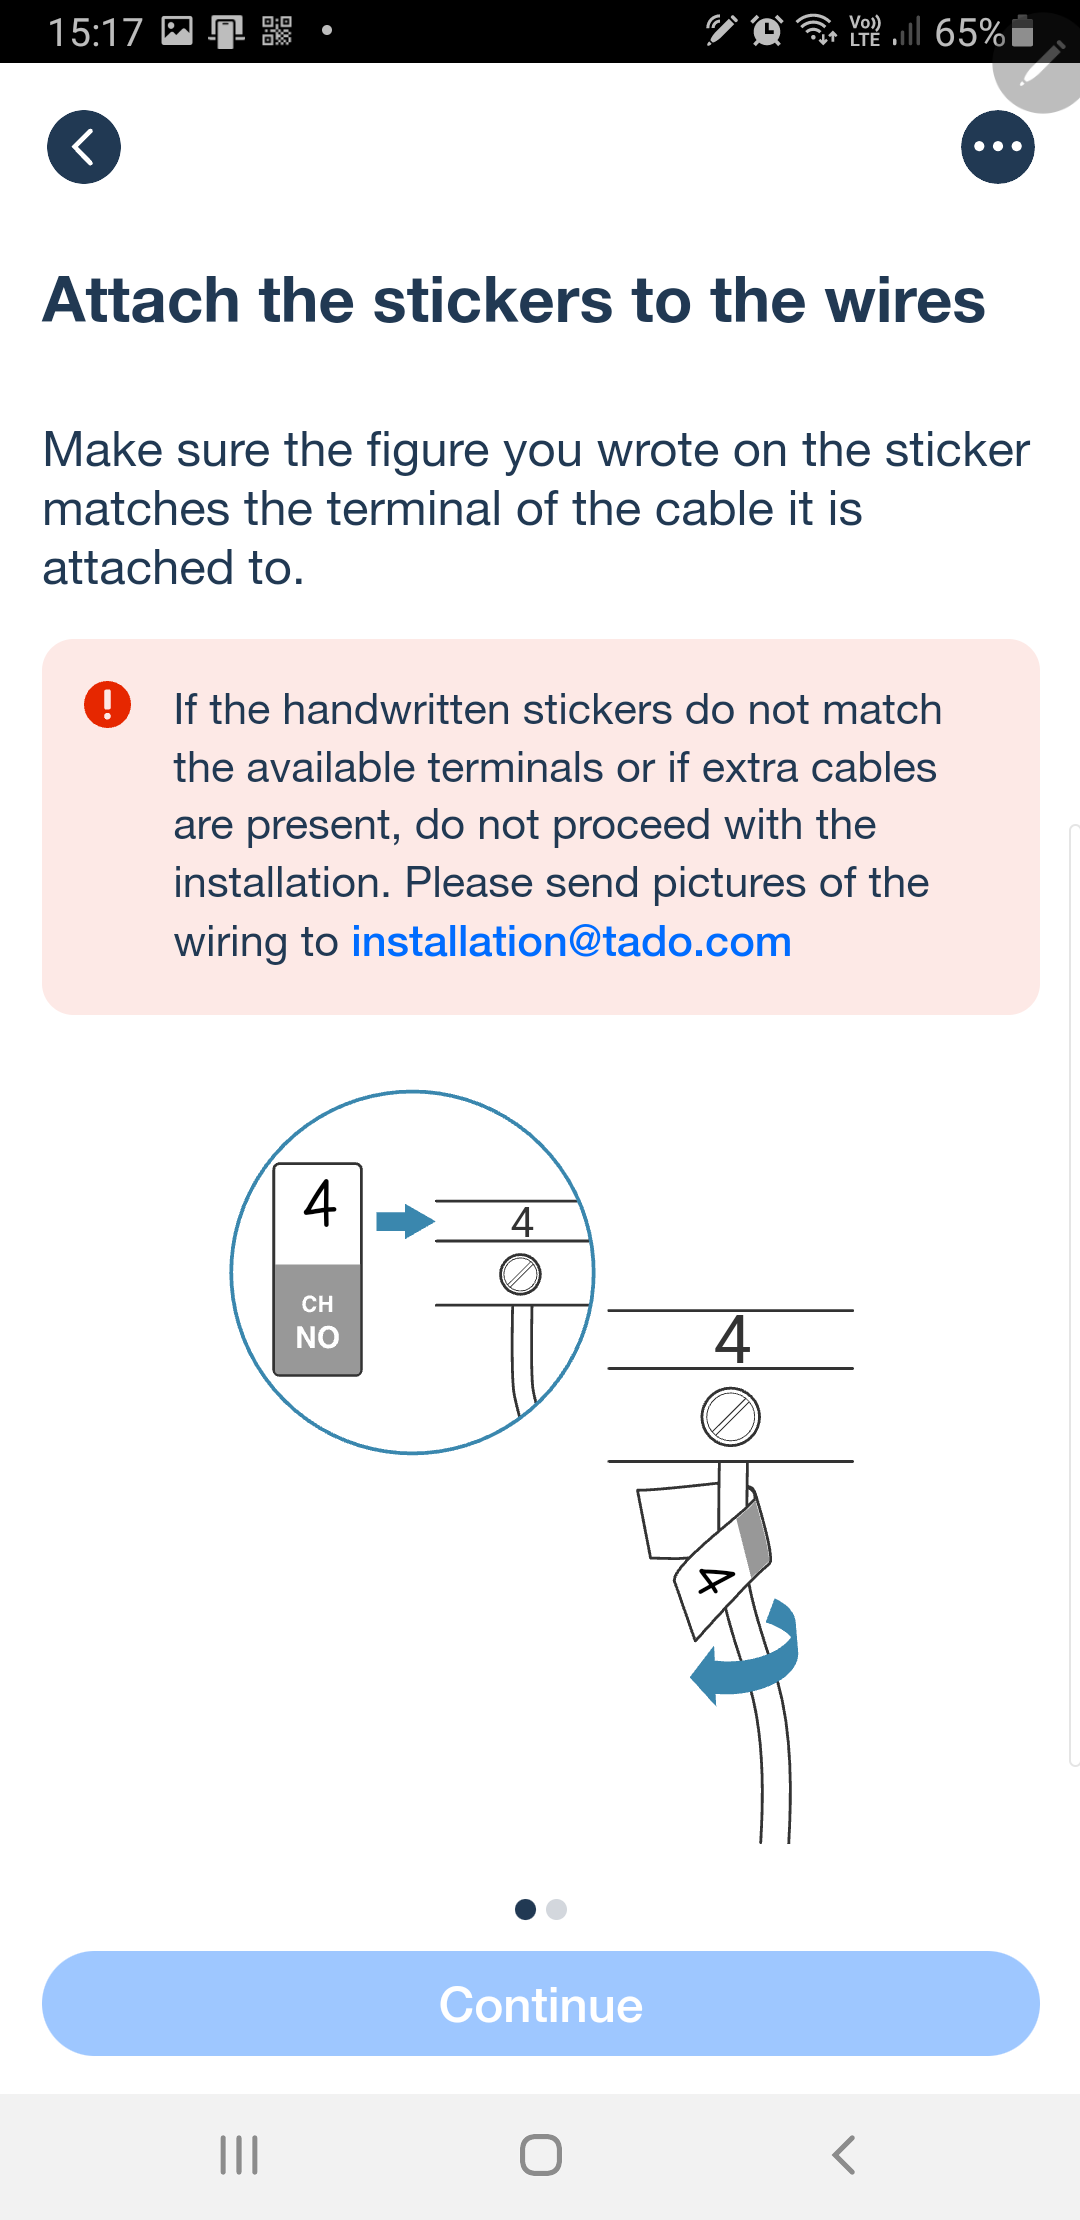
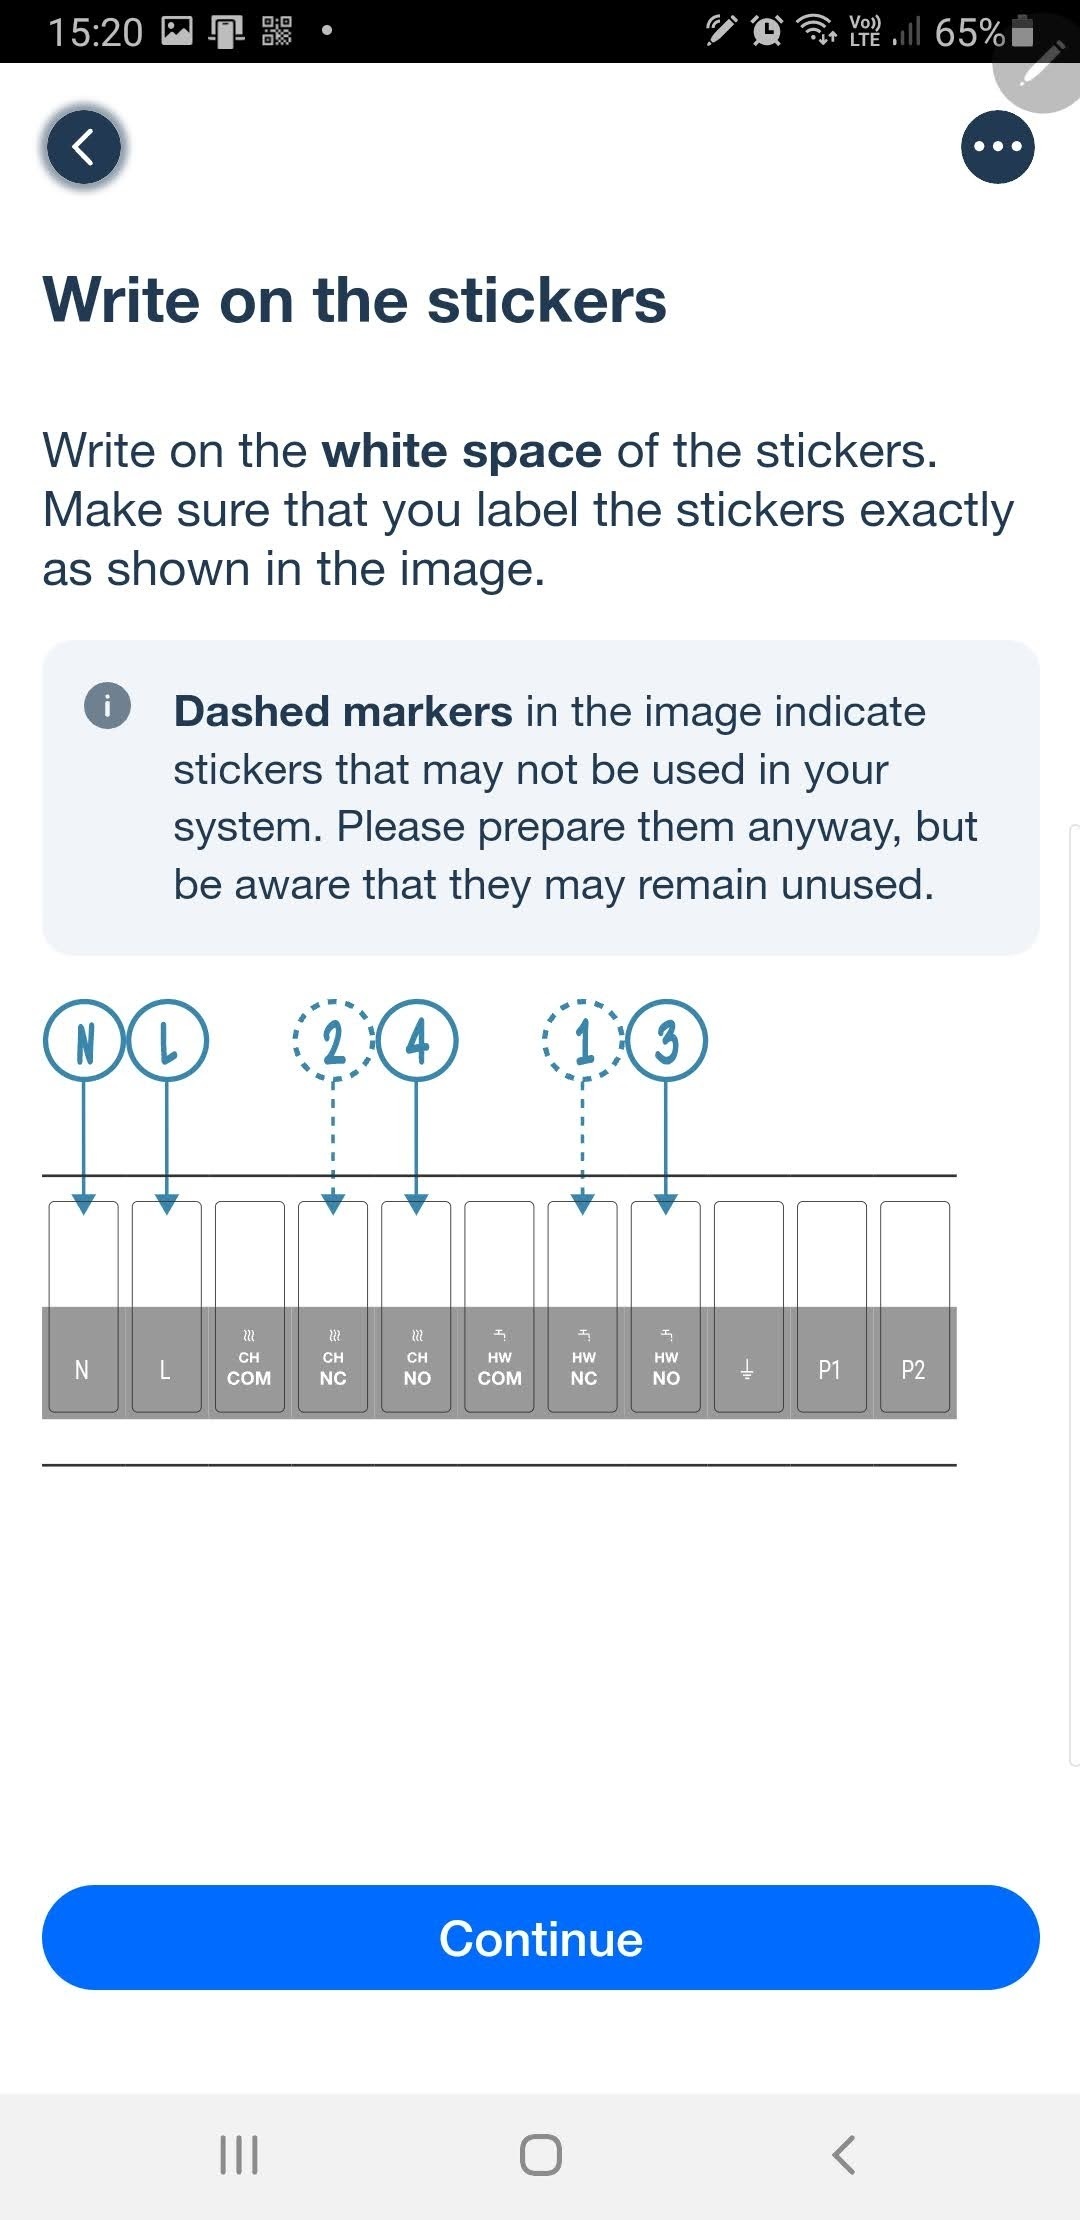
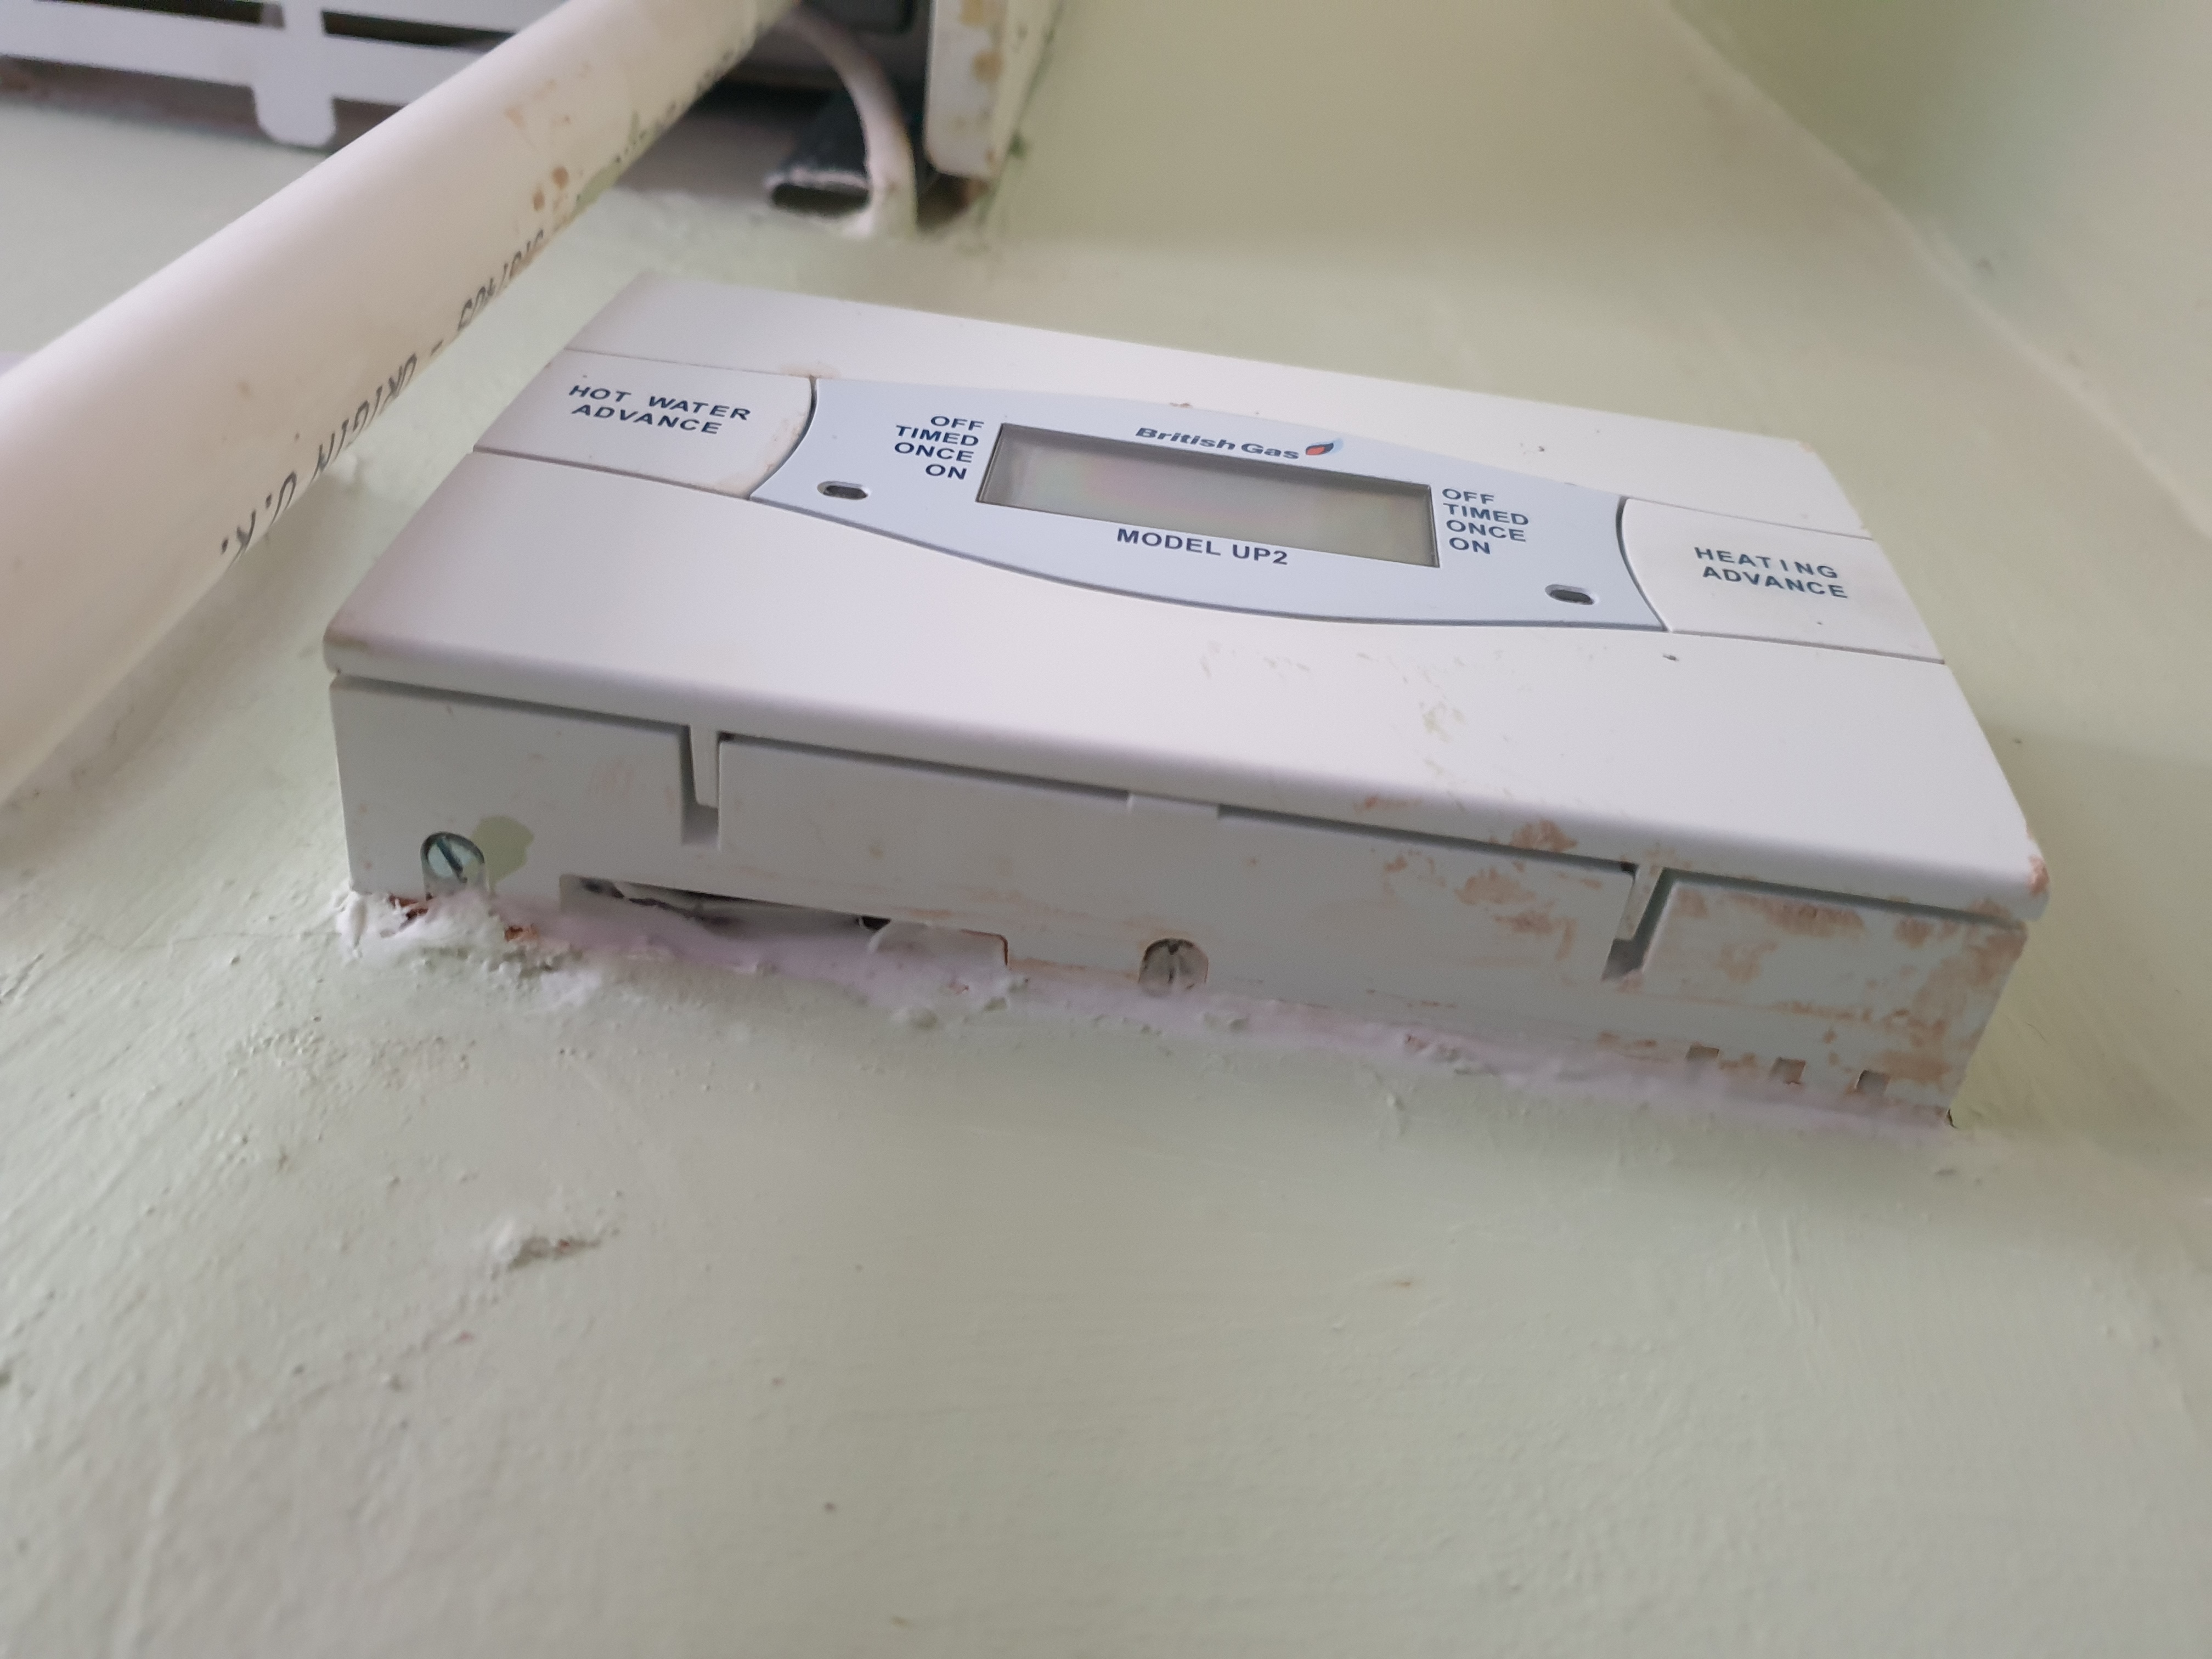
Second is the thermostat, again scanning the QR code. The app then takes you through removing the old thermostat, how to label up the wires with the supplied stickers, and says if you find an extra wire to email a photo; so I did. There is an earth that they don't mention. Fundamentally all of the old wires are disconnected and inserted into 2-way lever connectors.


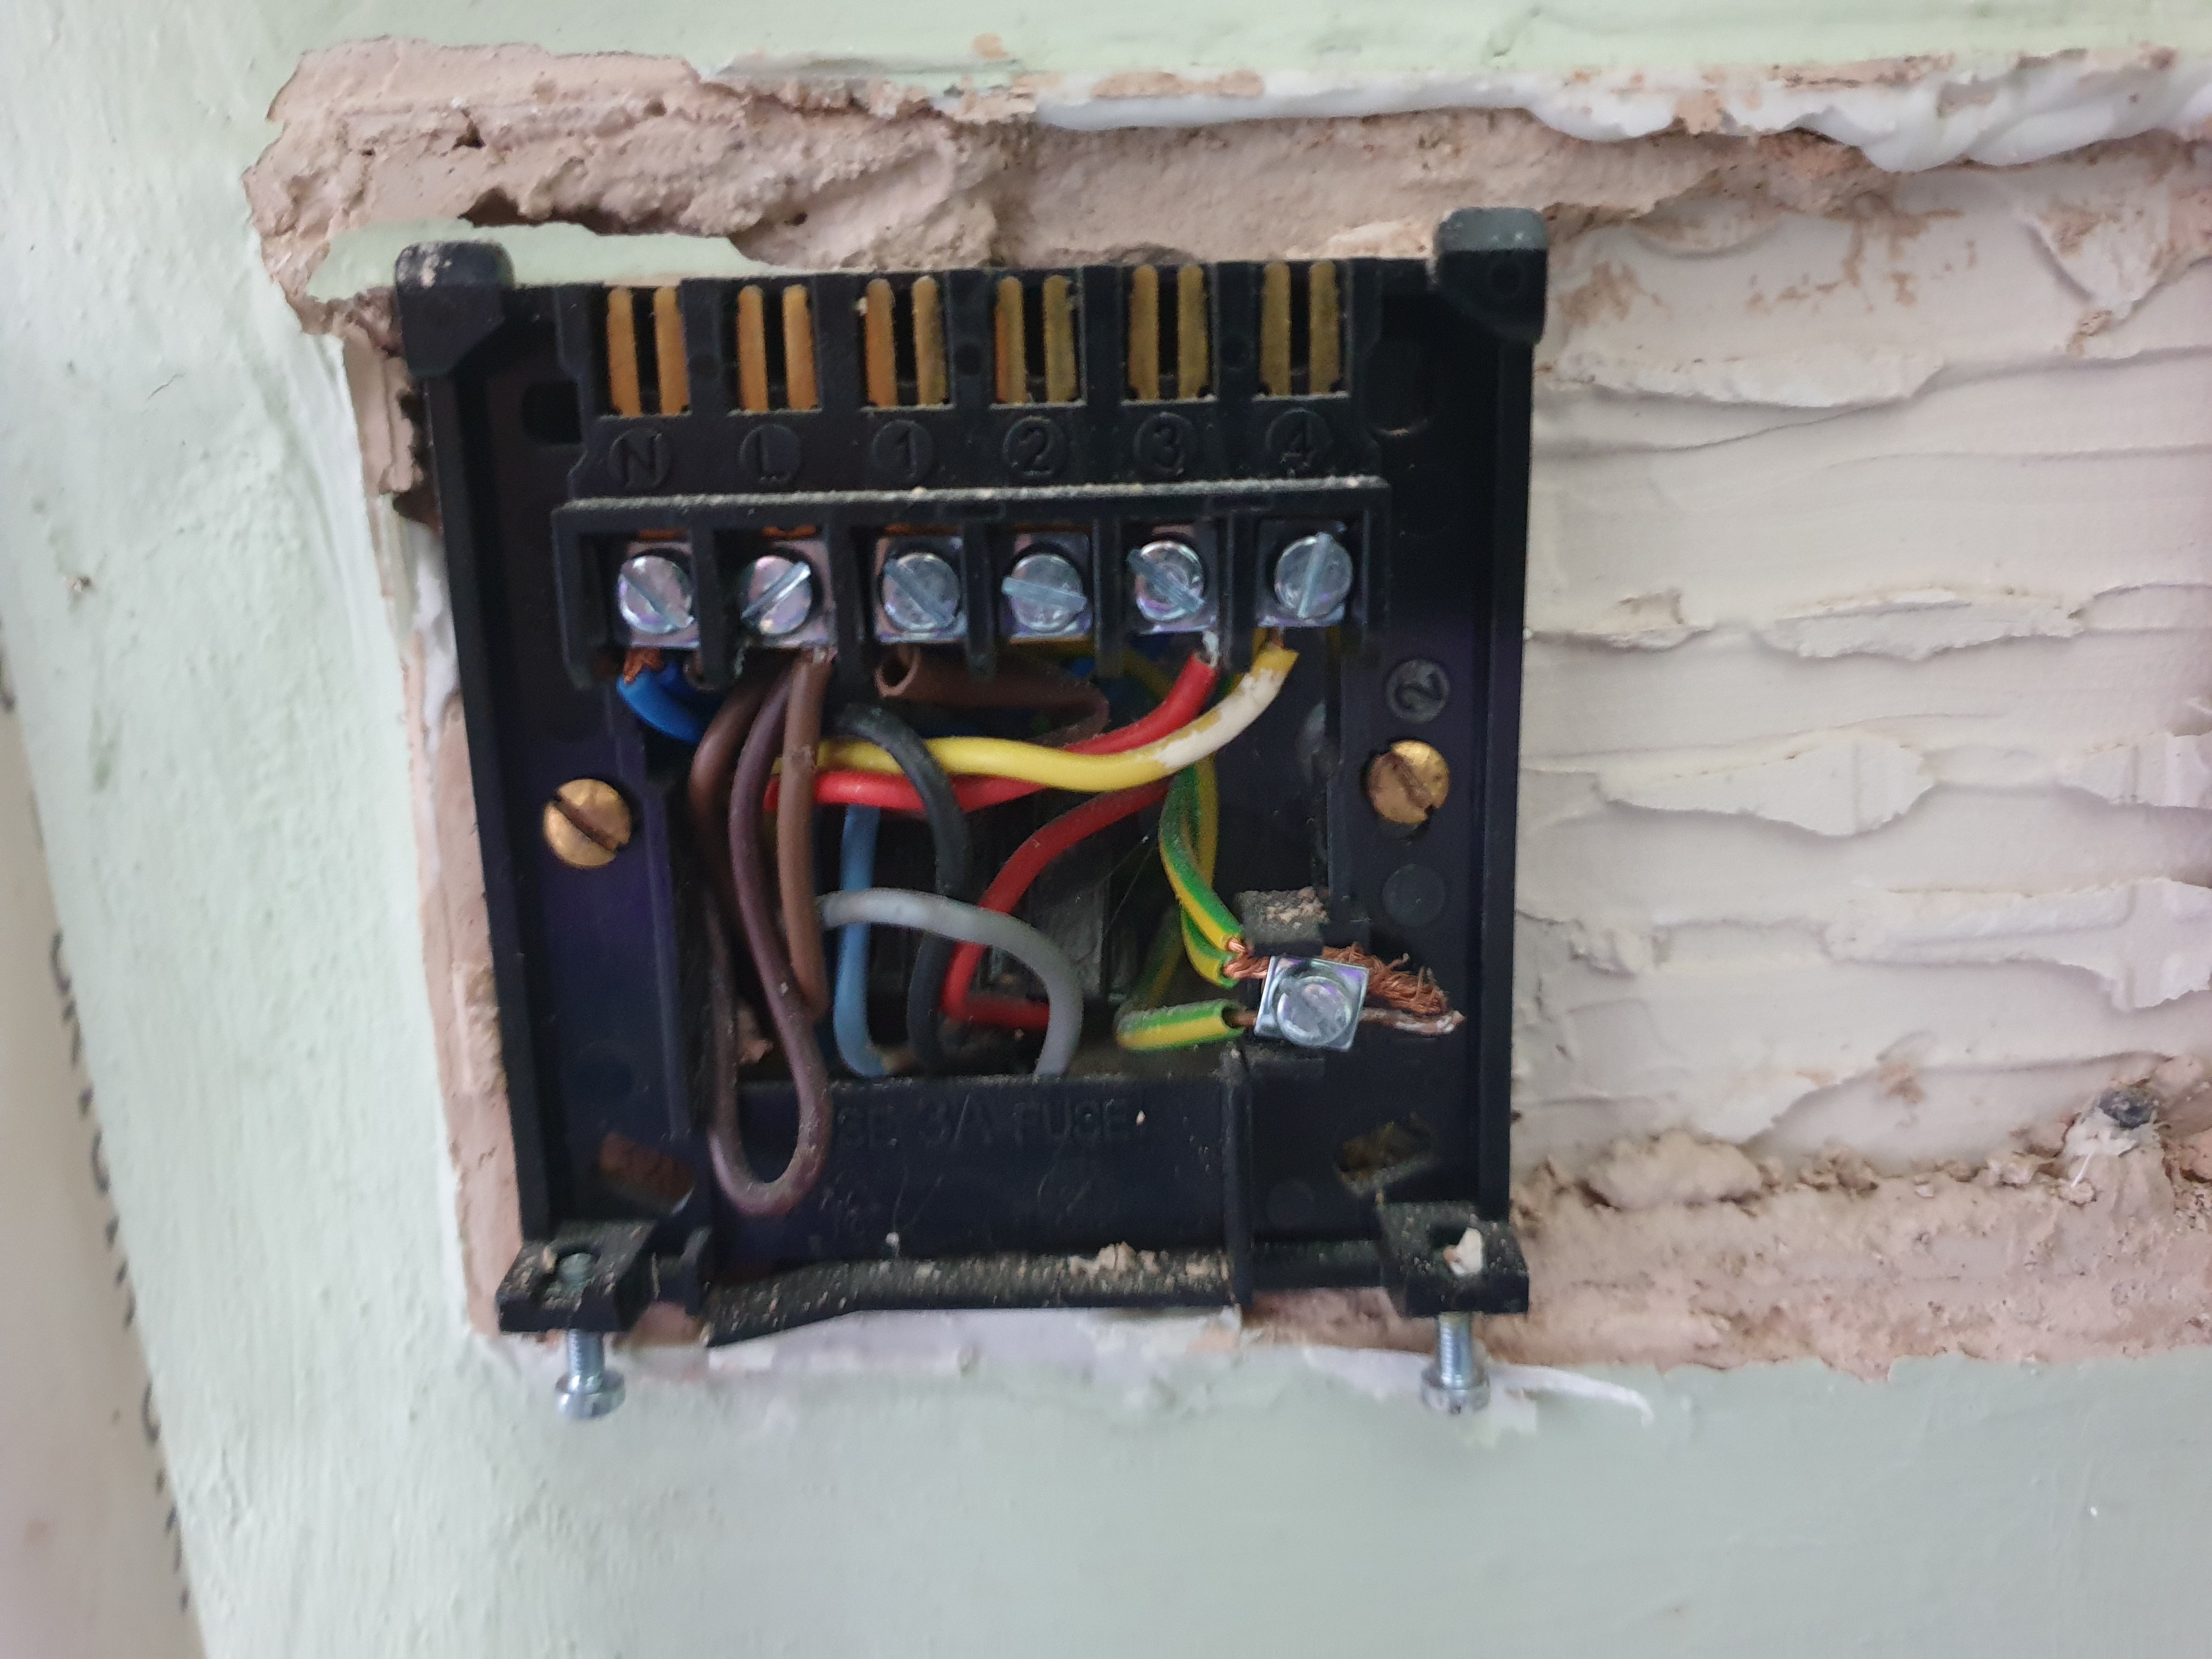
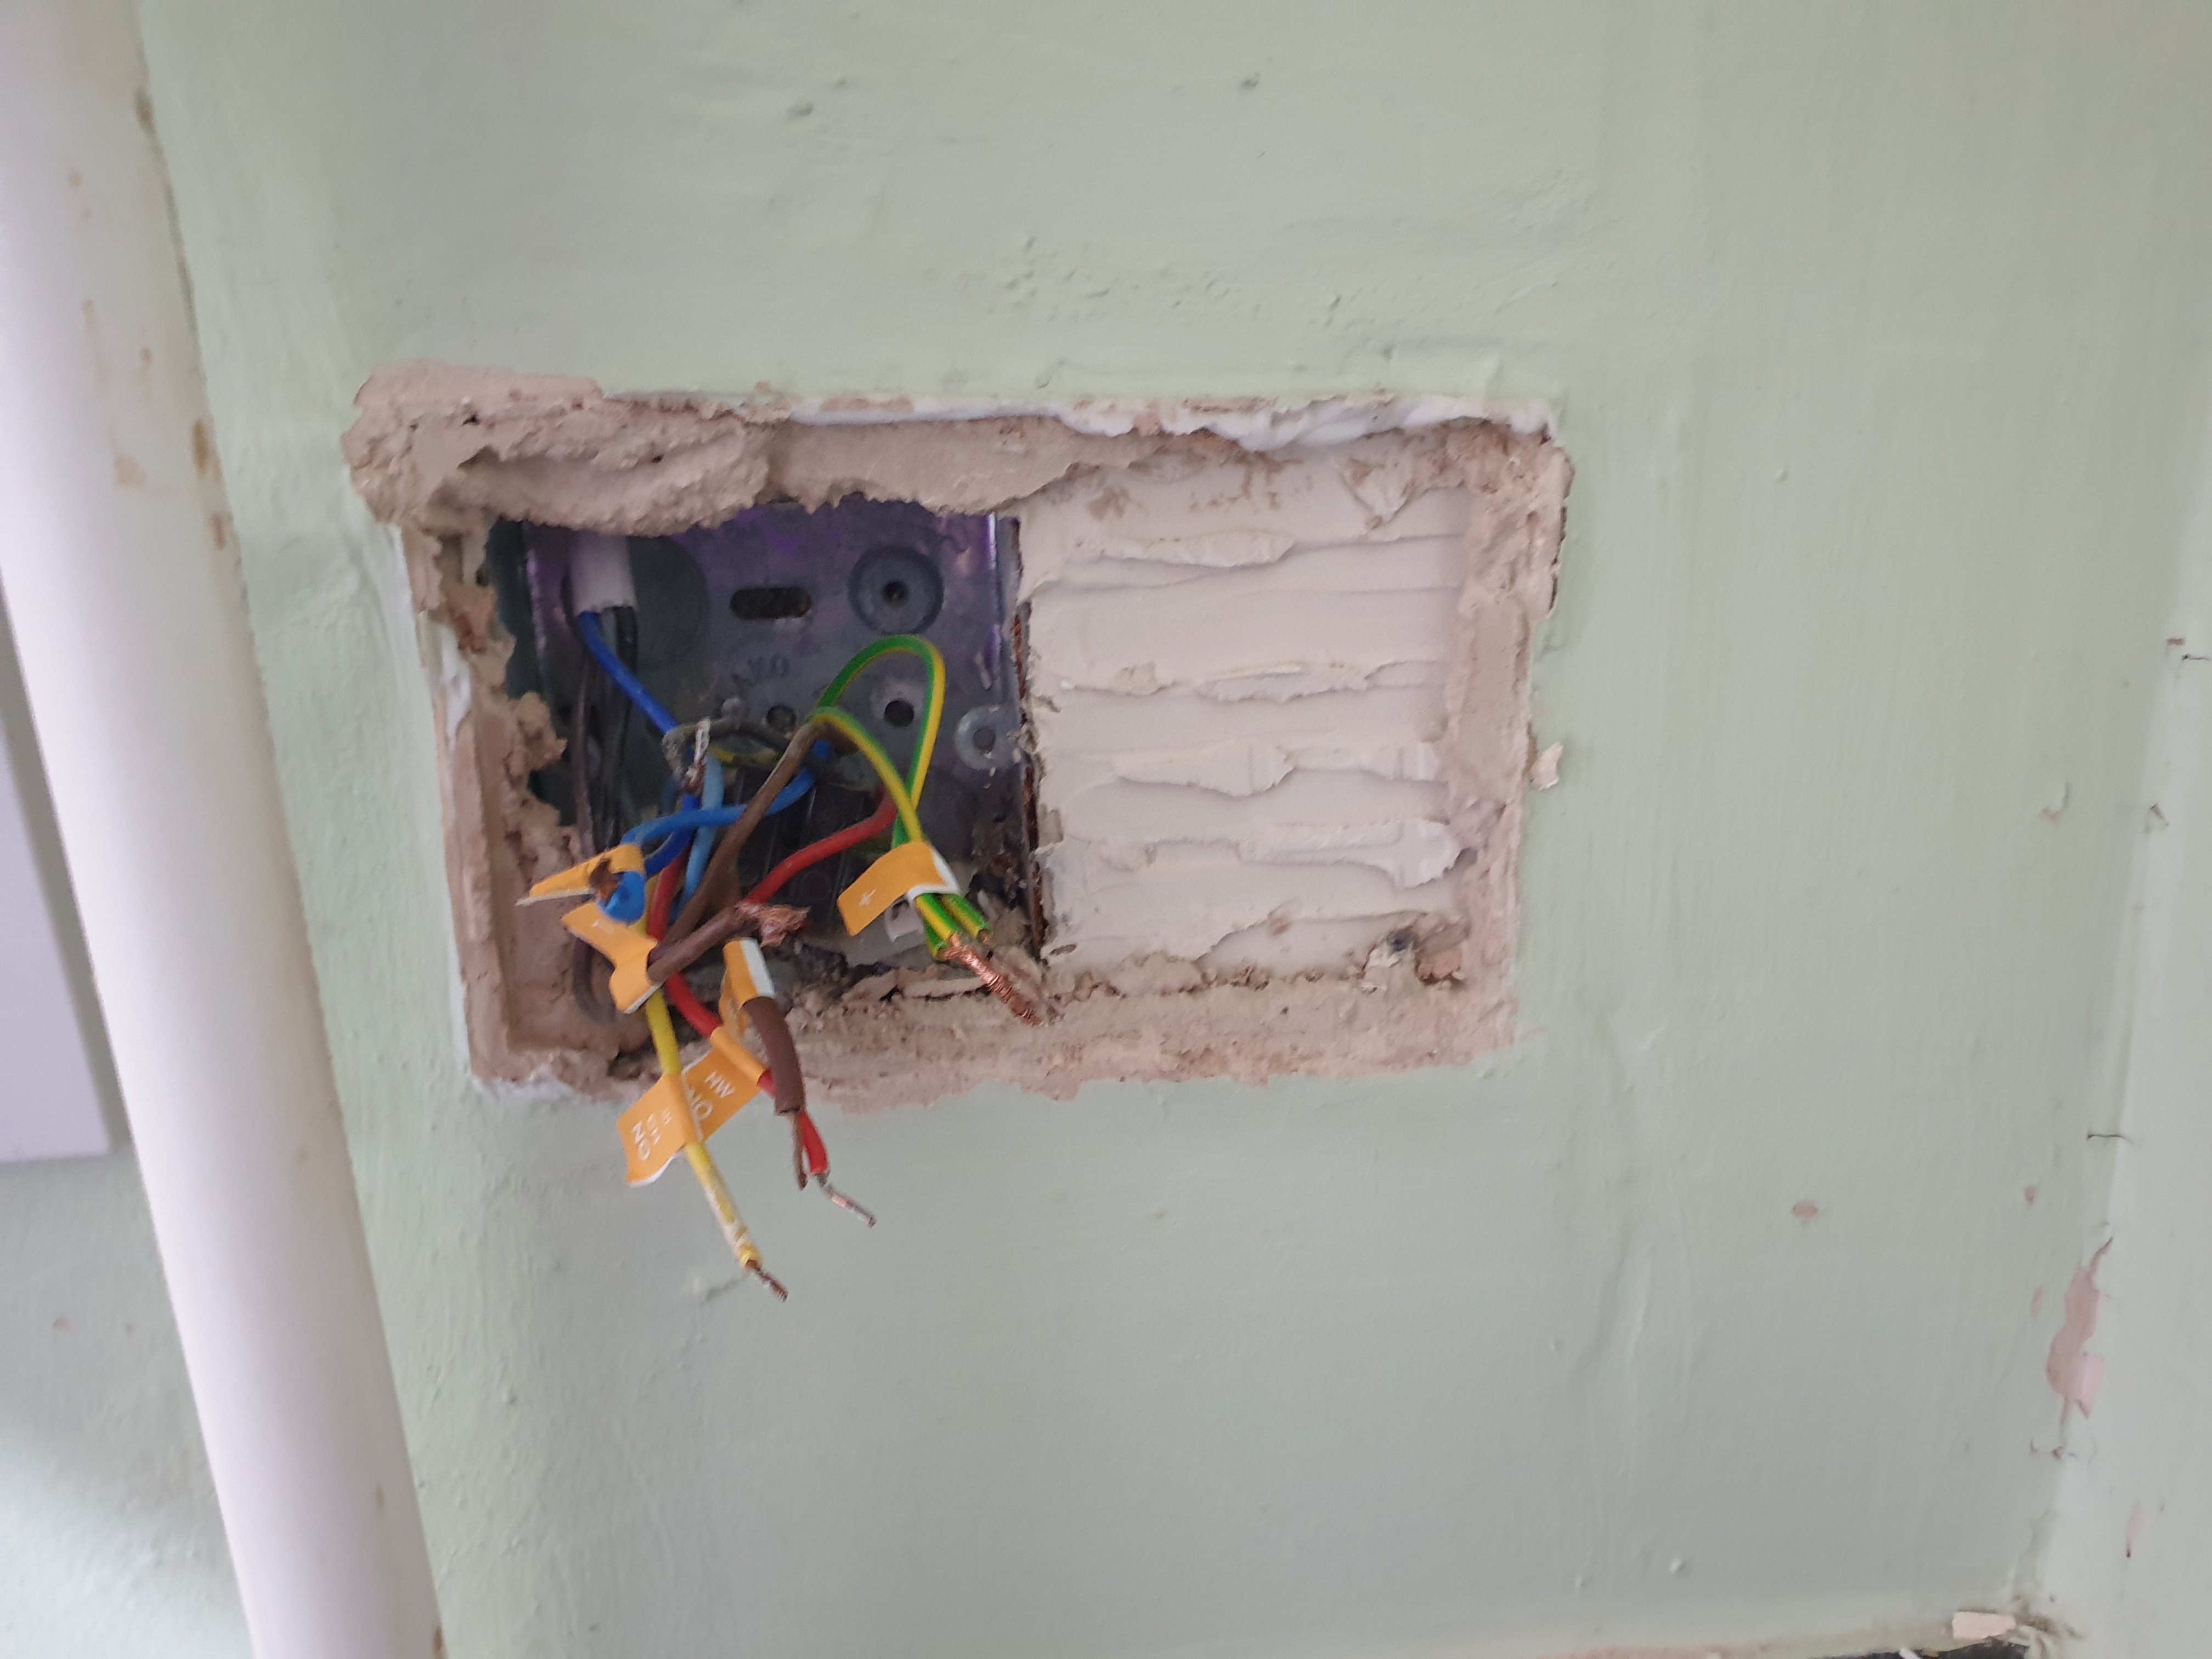
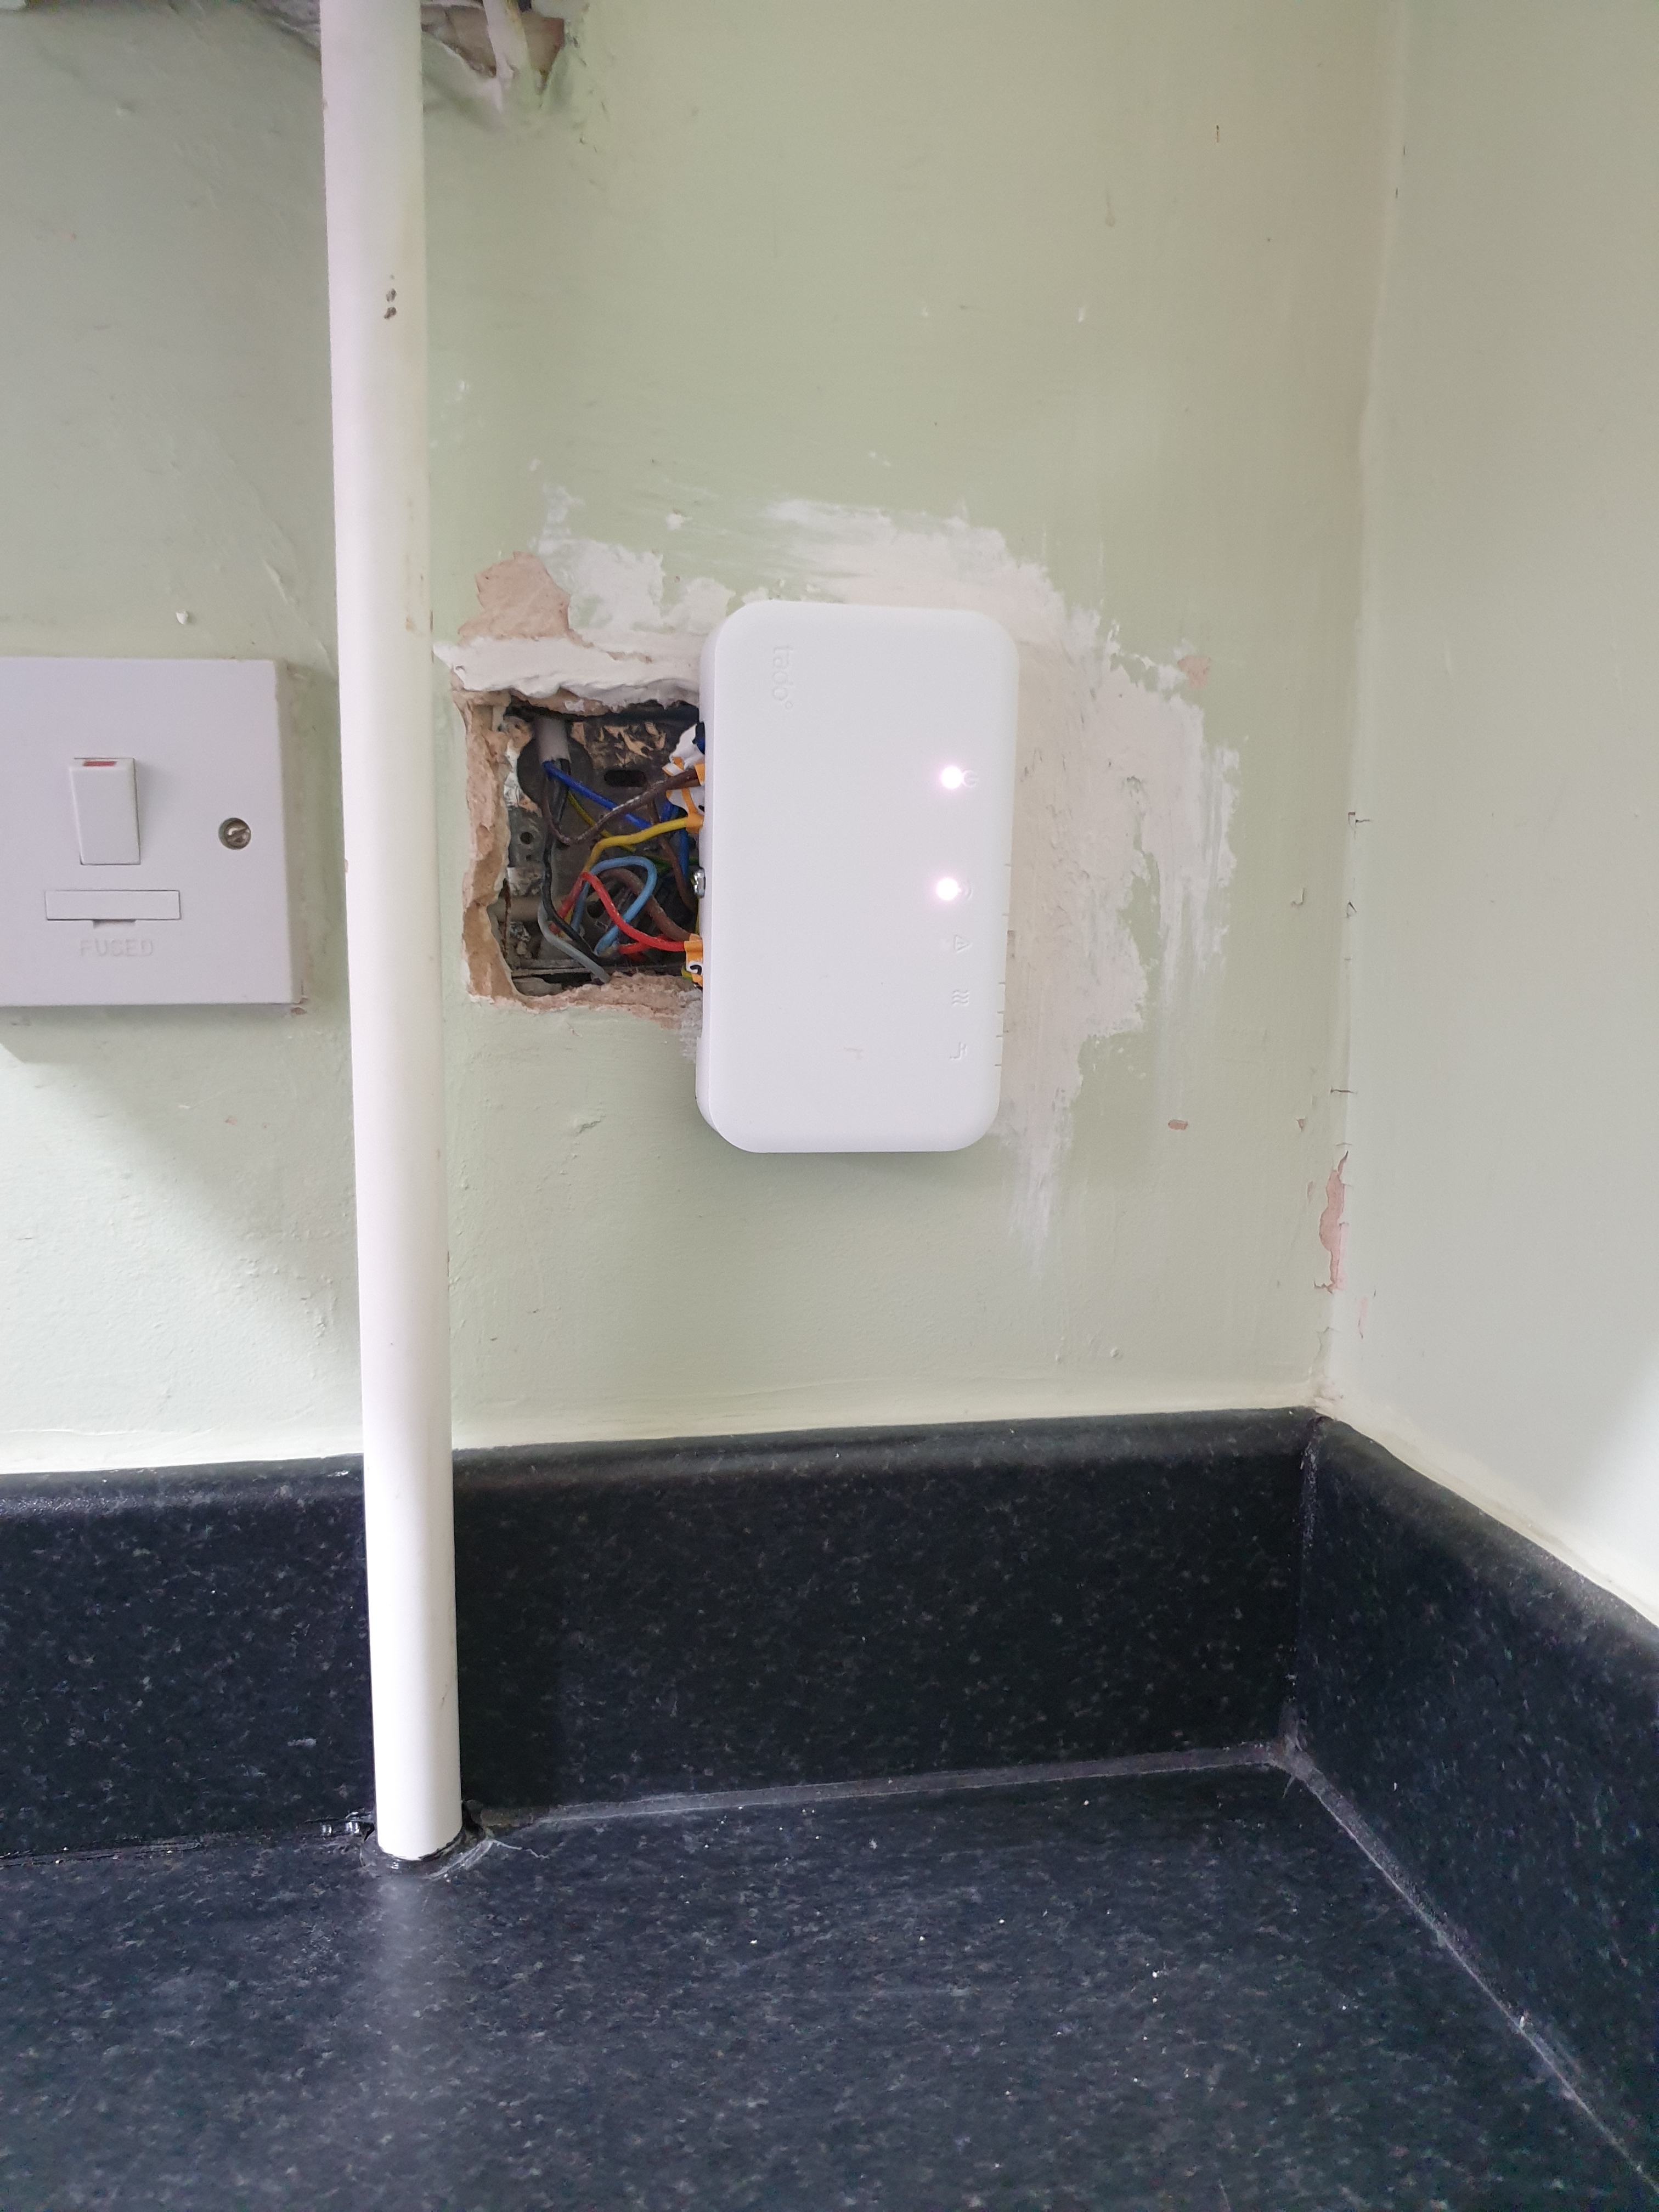
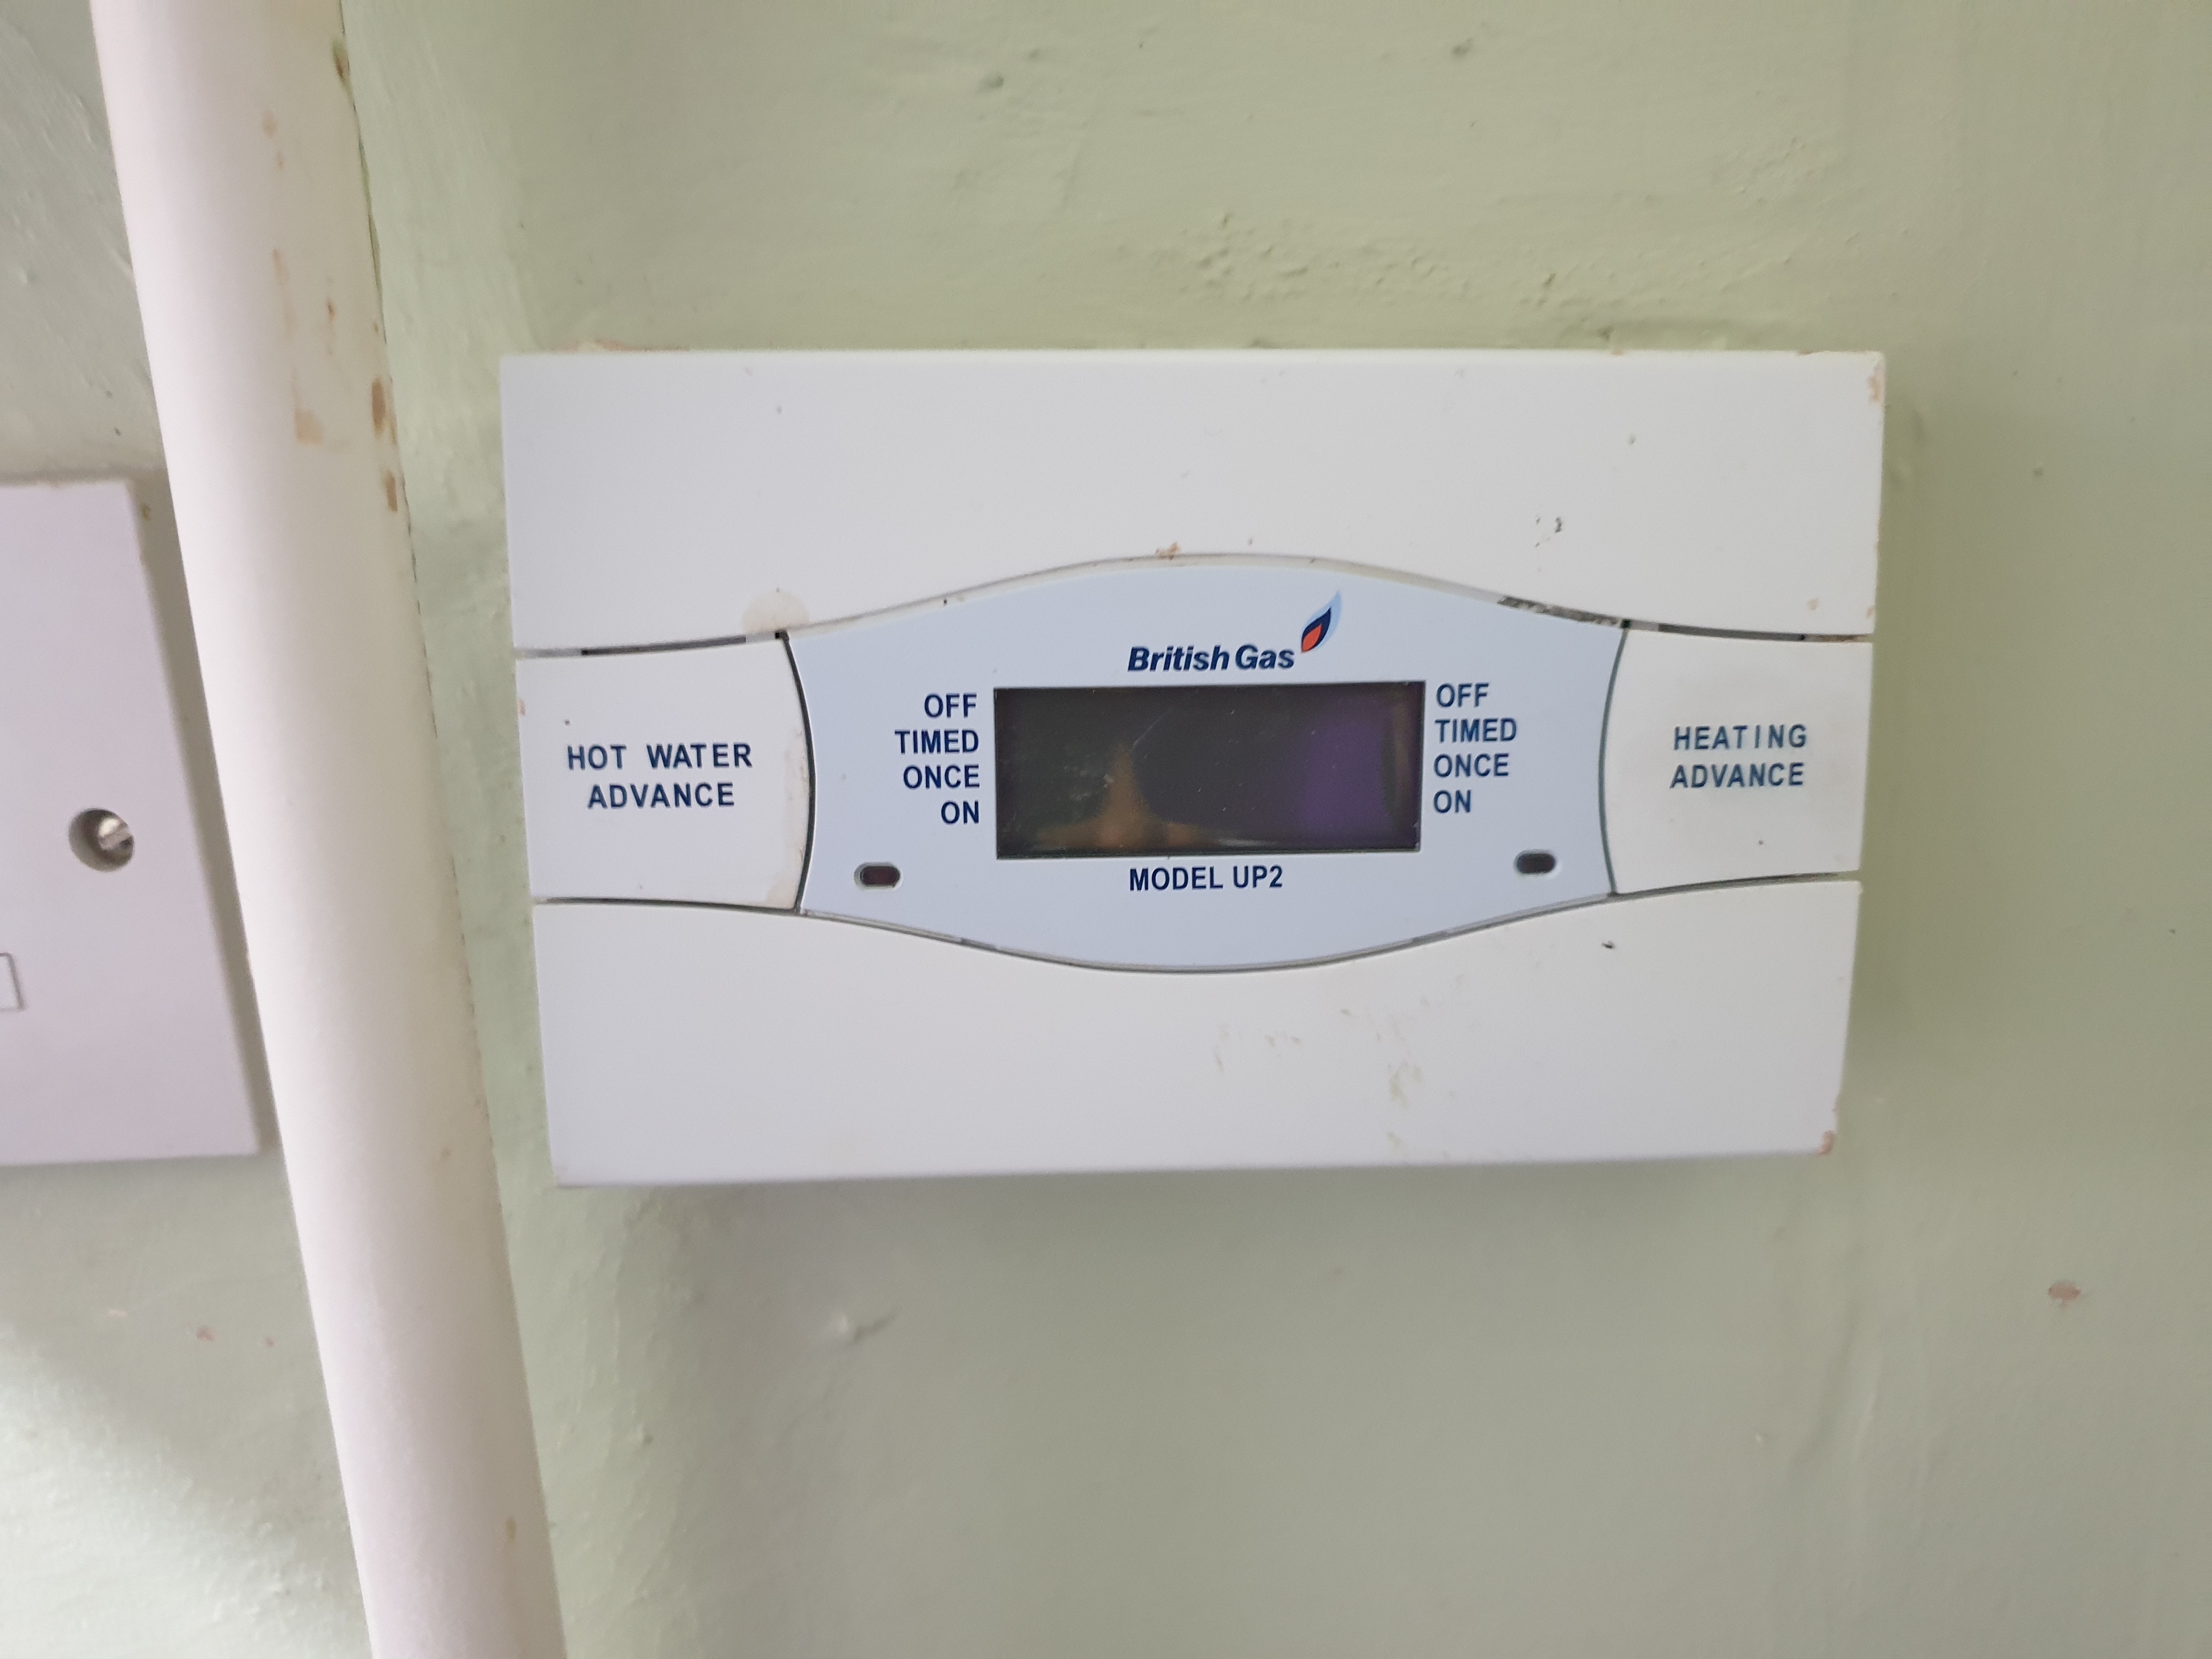
Third is the tado wireless receiver (programmer). The old one was in an awkward corner and had been partially sealed in with silicon sealant, but I got it opened and all the wires labelled in accordance with the app instructions. Again there was an extra earth wire (3 actually) compared to the diagram, so I used the earth label that isn't shown in the instructions. I sent off an email with photo as instructed to advise the extra wire. I got the base off the wall as instructed. My goodness but there was a lot of loose plaster left by the British Gas installer! What a mess it was.


Beware of wires that are hidden

There was a black one connected in the same N slot as the blue ones. But it was bent backwards and underneath.


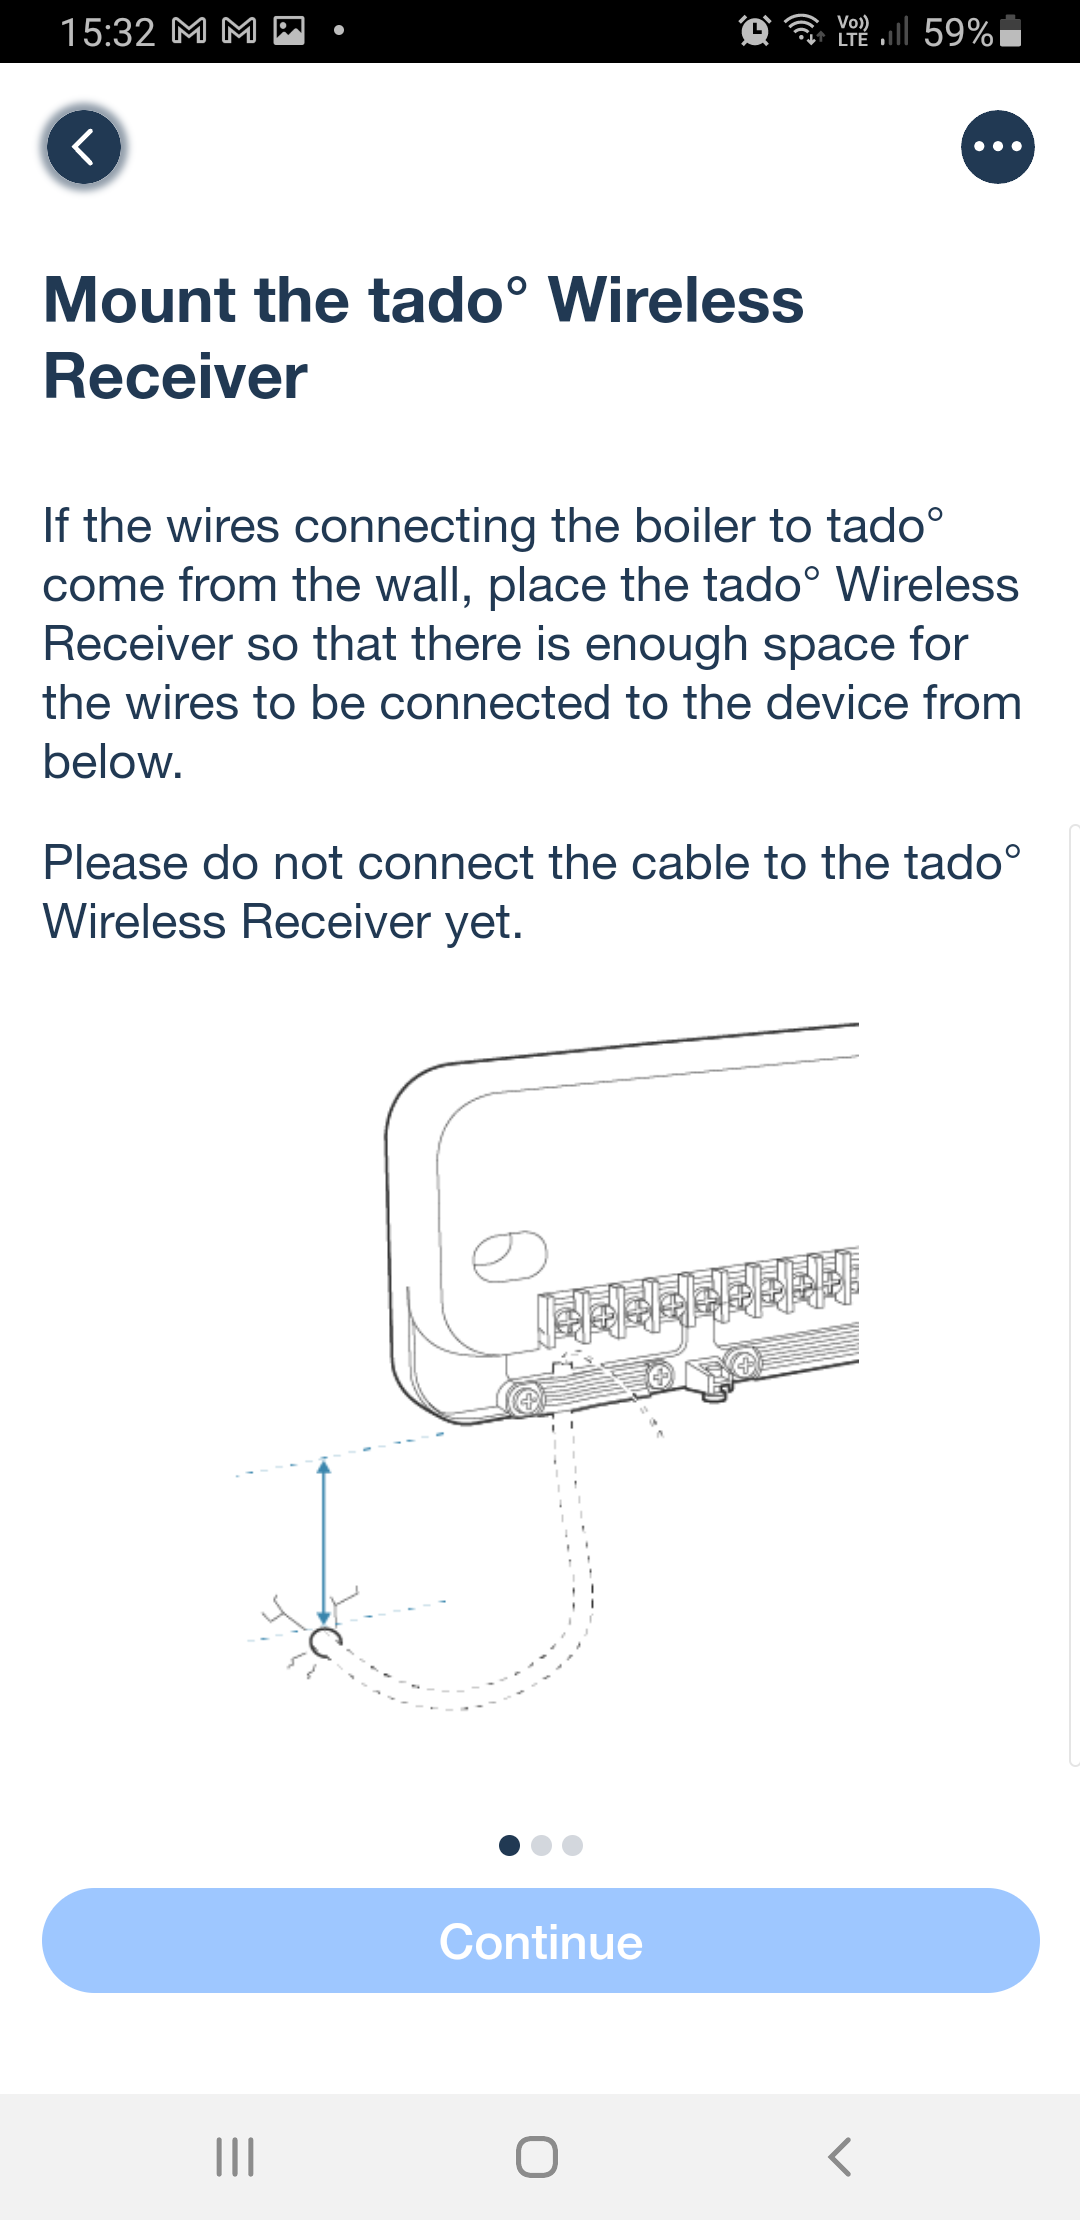
I moved through the instructions and came to "install the receiver programmer 30cm minimum from the boiler. What? I haven't got 30cm! Being told this only AFTER you've taken everything apart is dreadful. 
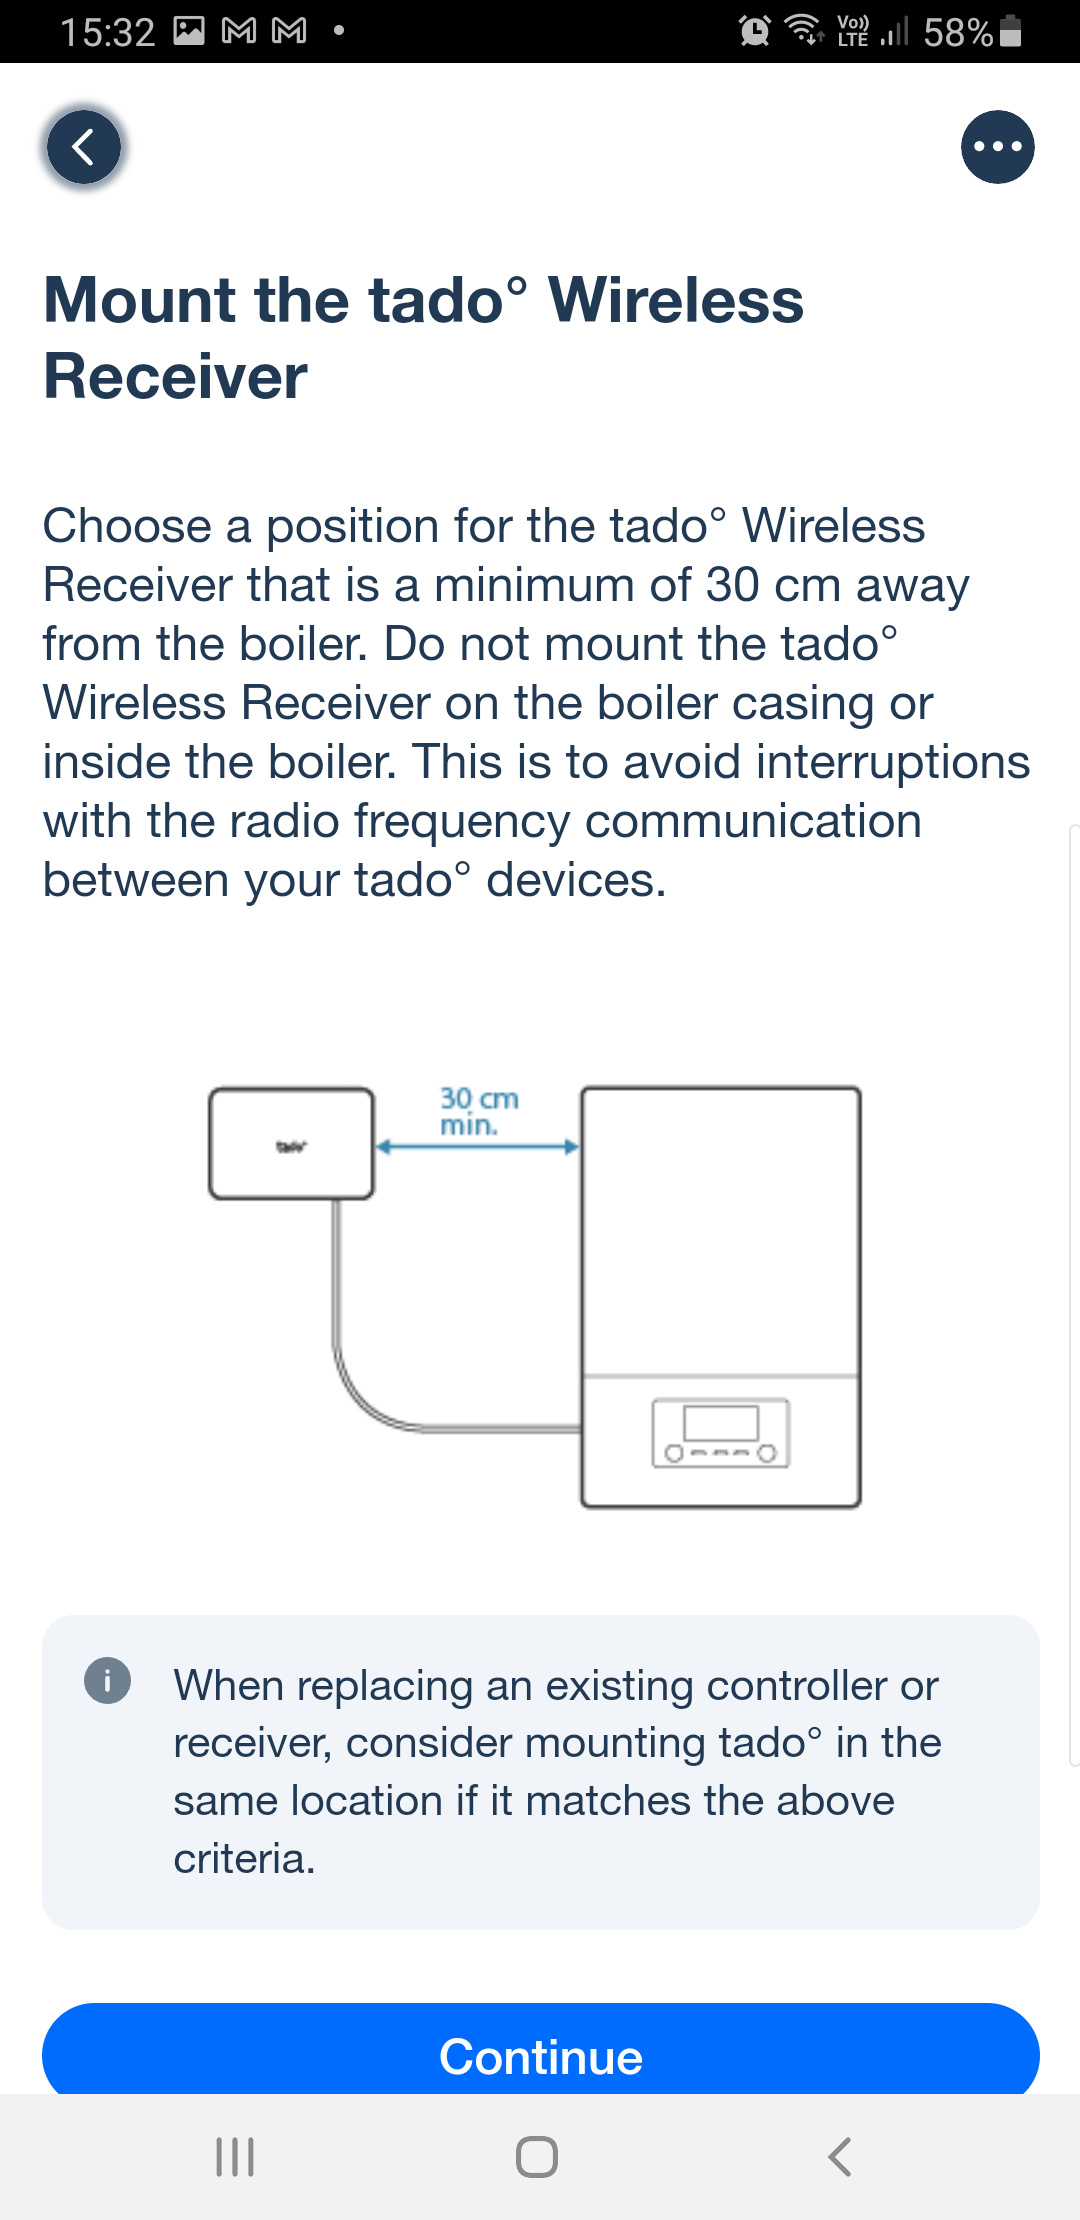


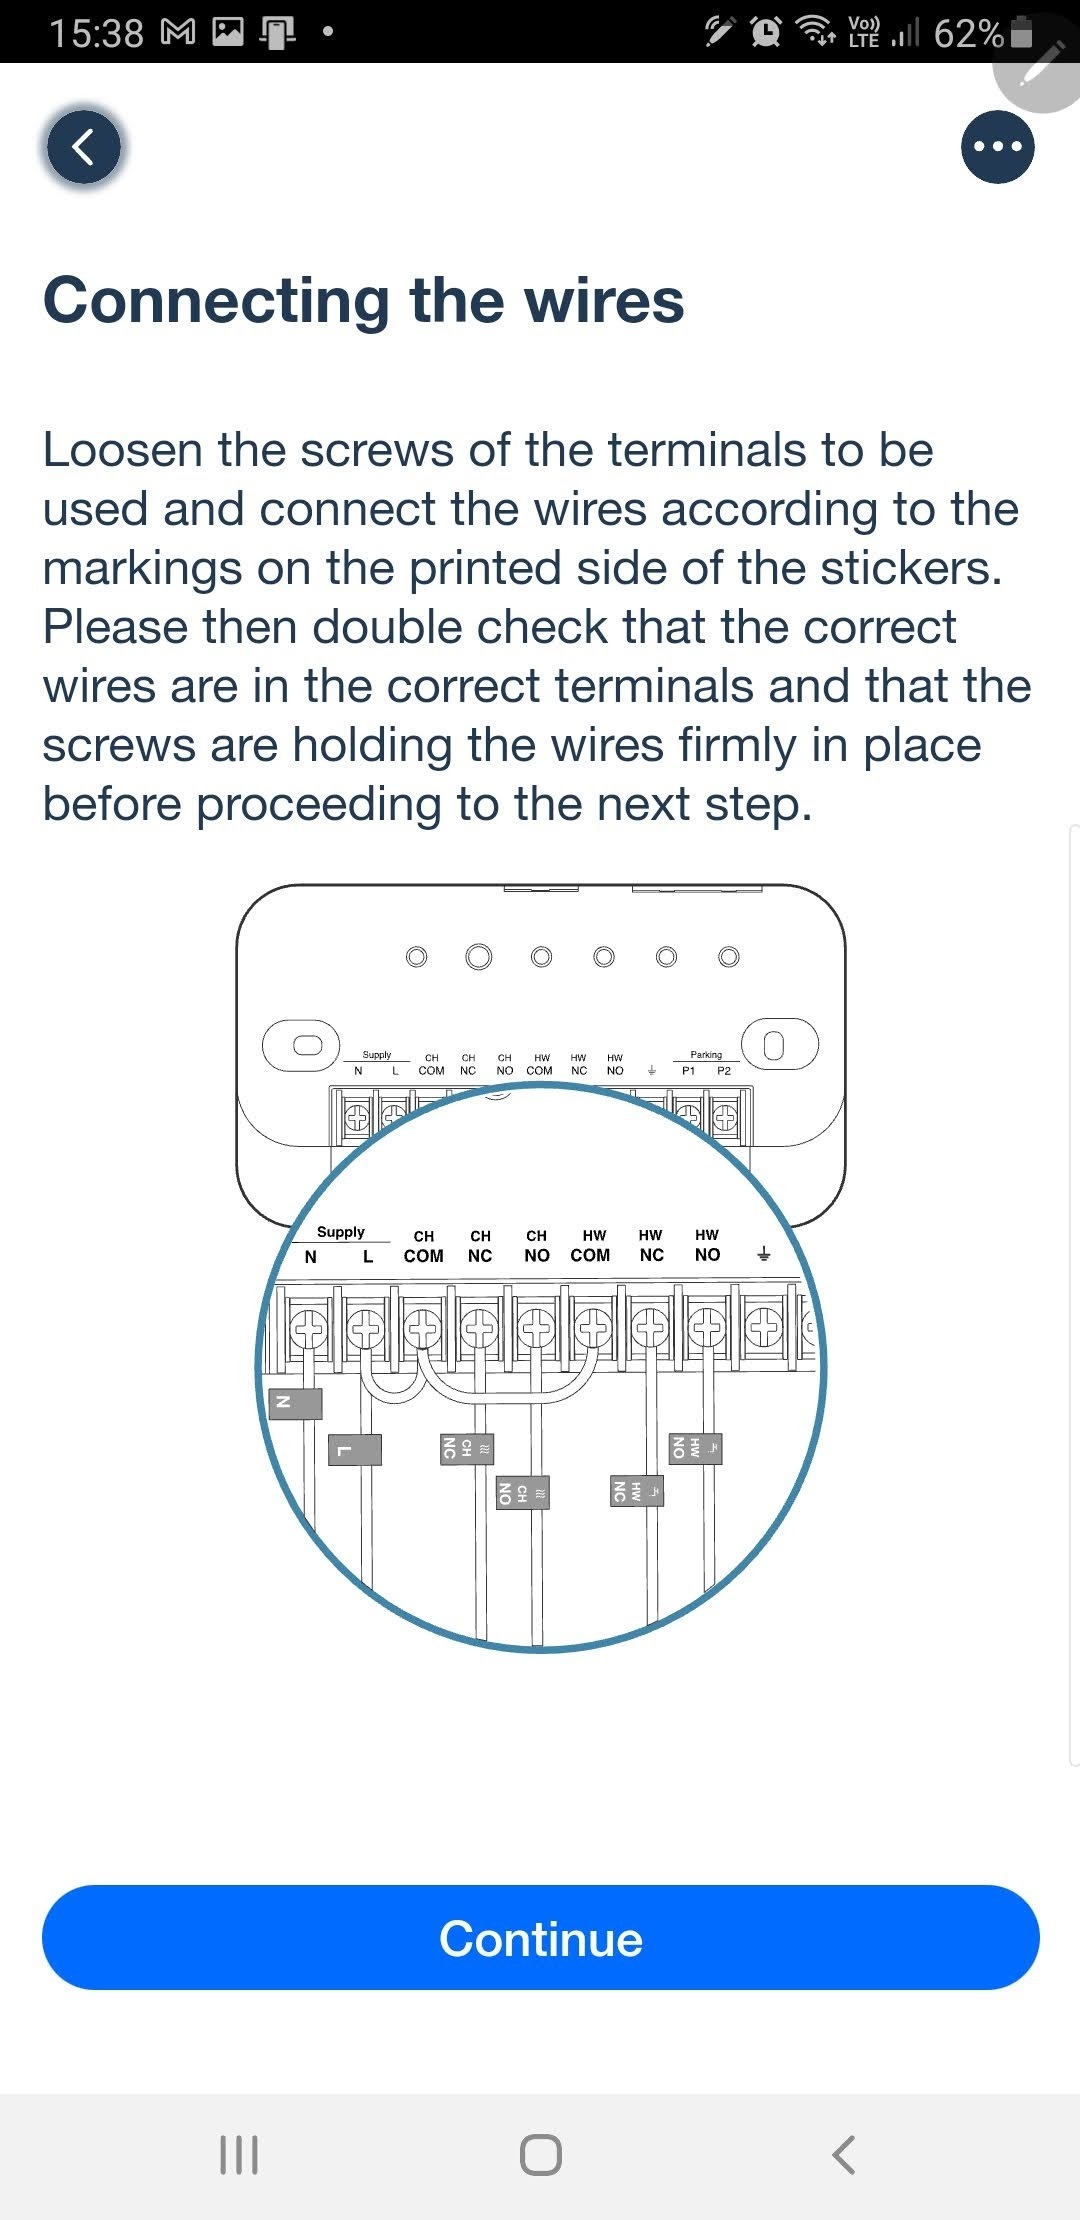
Then the app shows a SINGLE cable coming out of a wall that can be neatly put under the cable clip in the tado! I've got THREE cables which split to 10 wires that are interconnected into 6 groups. Even if I could install 30cm away I'd have to joint them up to another cable (or two, because 6-core is unusual) and have a new 80cm run along a wall to the other side of the boiler. But then that would be the opposite side to the thermostat. Either location has a direct line through the ceiling to the router on my home office desk.

If it REALLY needs to be 30cm away, that should be advised BEFORE PURCHASING. 

The papers included in the box give a helpline for installation support. That is obsolete. The ansaphone at the other end says they are transitioning to a chat based support because it is "quicker". I am instructed to go to www.tado.com, which I do. The chat is a xxxx bot. They are never any use, and indeed it isn't. It gives me links to web pages that say exactly the same thing as the app.

The bot can connect me to a person, in "under 20 minutes", so I ask for that at 15:40. While waiting I explain the problem of not having 30cm. After a full 50 minutes, "Hello, thank you for contacting us" popped up under a person's name. After 10 minutes I ask whether there is anyone there, and what I should do because I do not have 30cm from the boiler. Another 8 minutes passed before the person on the other end actually commented at 16:48 - "You can install it where the old device was installed". "That's only 15cm". "I will check with my colleagues". A further 10 minutes later, at 17:00, I'd not had any further message despite asking how it was going. It was matterless as during that 80 minutes total, I'd had to cross my fingers and connect the new one up anyway, because we had to go out and we needed working heating for when we returned late on. The alternative was to reconnect the original controller AND thermostat, and there wasn't time. I had to apologise and abandon chat.

Thankfully, having completed the steps in the app, and turned on the power, the power and internet lights came on. The app's net step was to find the controller which it did. All connected - the app enabled me to turn the heating on, and we went out.

I'm pleased to say that it is working, if not pretty! The tado controller is smaller than the old British Gas one, so it doesn't cover the old holes, and it certainly doesn't cover the wires. Because of a condensation drain pipe from the boiler, and which wires go into which terminal, it can only fit at right angles! I've had to polyfilla part of the hole that British Gas had cut, and will get some sort of blanking plate to make it look tidier.


I hope that it doesn't suffer from interference, but only time will tell. The guidance given is absolute, rather than saying "ideally 30cm minimum".

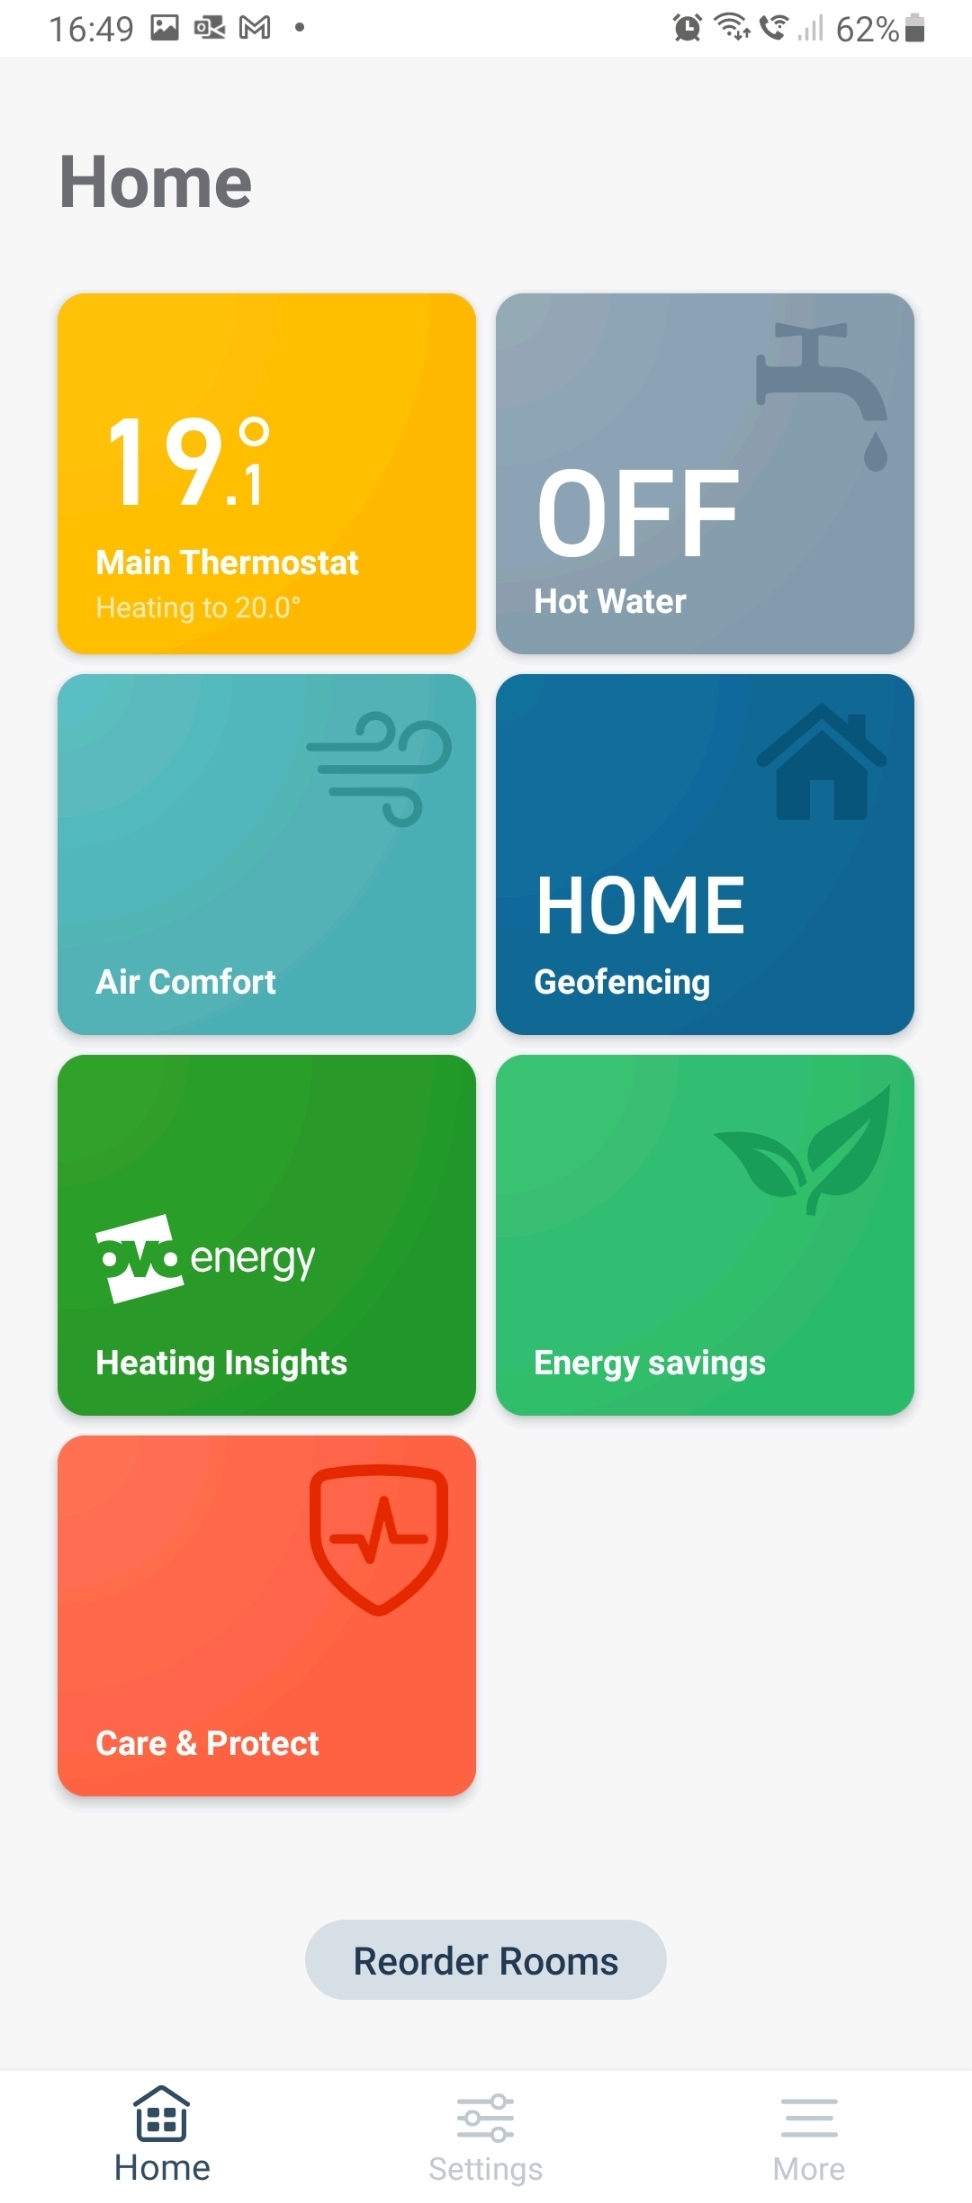
As my wife drove us away from home, I was able to turn off the heating so that it wasn’t wasting energy while we were out, see the indoor temperature and then turn it back on when we set off home so it was warm by the time we got there.

The next day I got a reply to my second email (the one about the additional earth wires in the controller) which confirmed what I'd done.

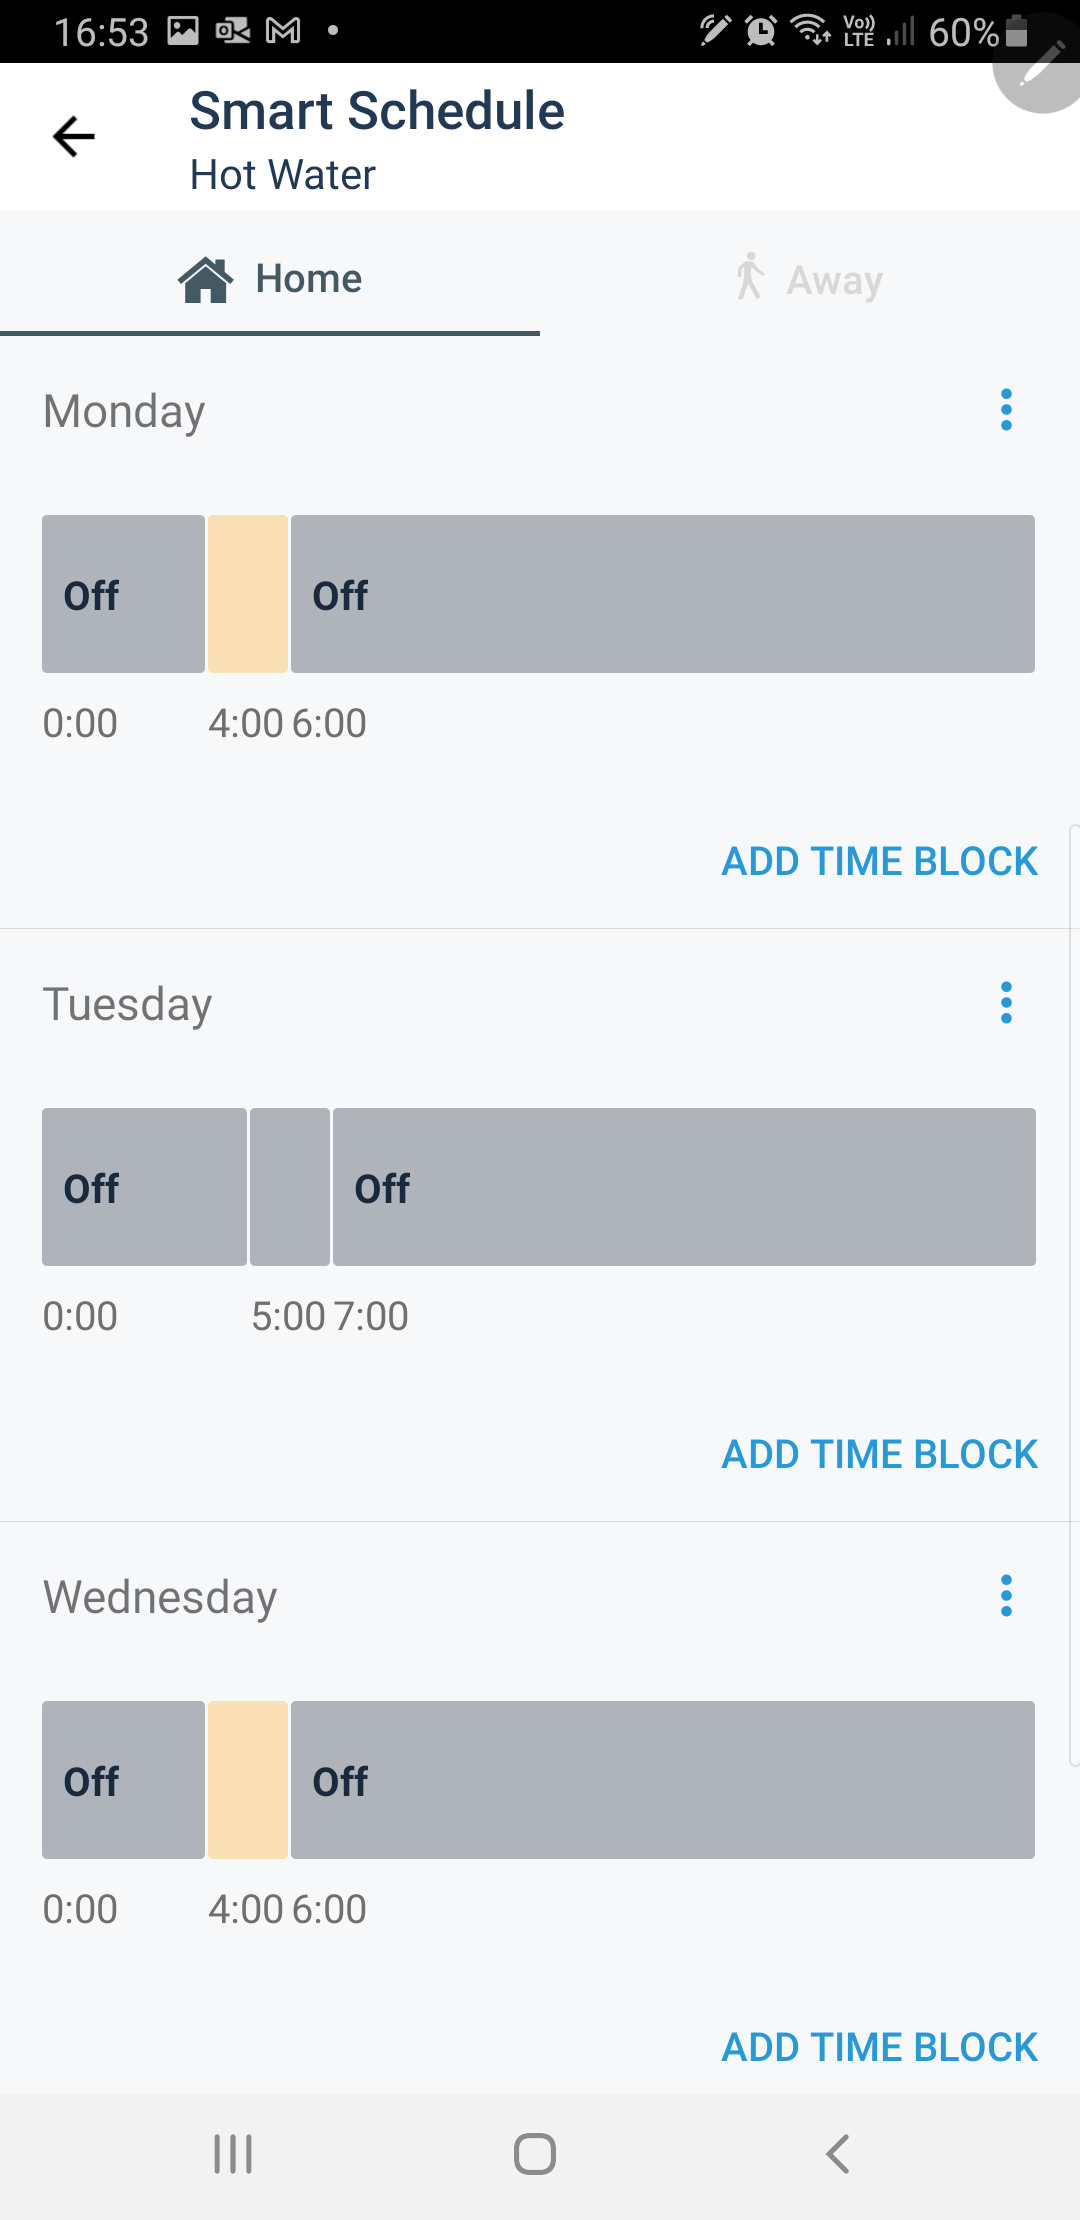
Now comes the learning process, for me as well as the thermostat. It comes programmed for central heating to come on at 20° at 7am and go off at 10pm. That is three TIME BLOCKS, midnight to midnight. Each day can be different, or weekday and weekend, or all the same.

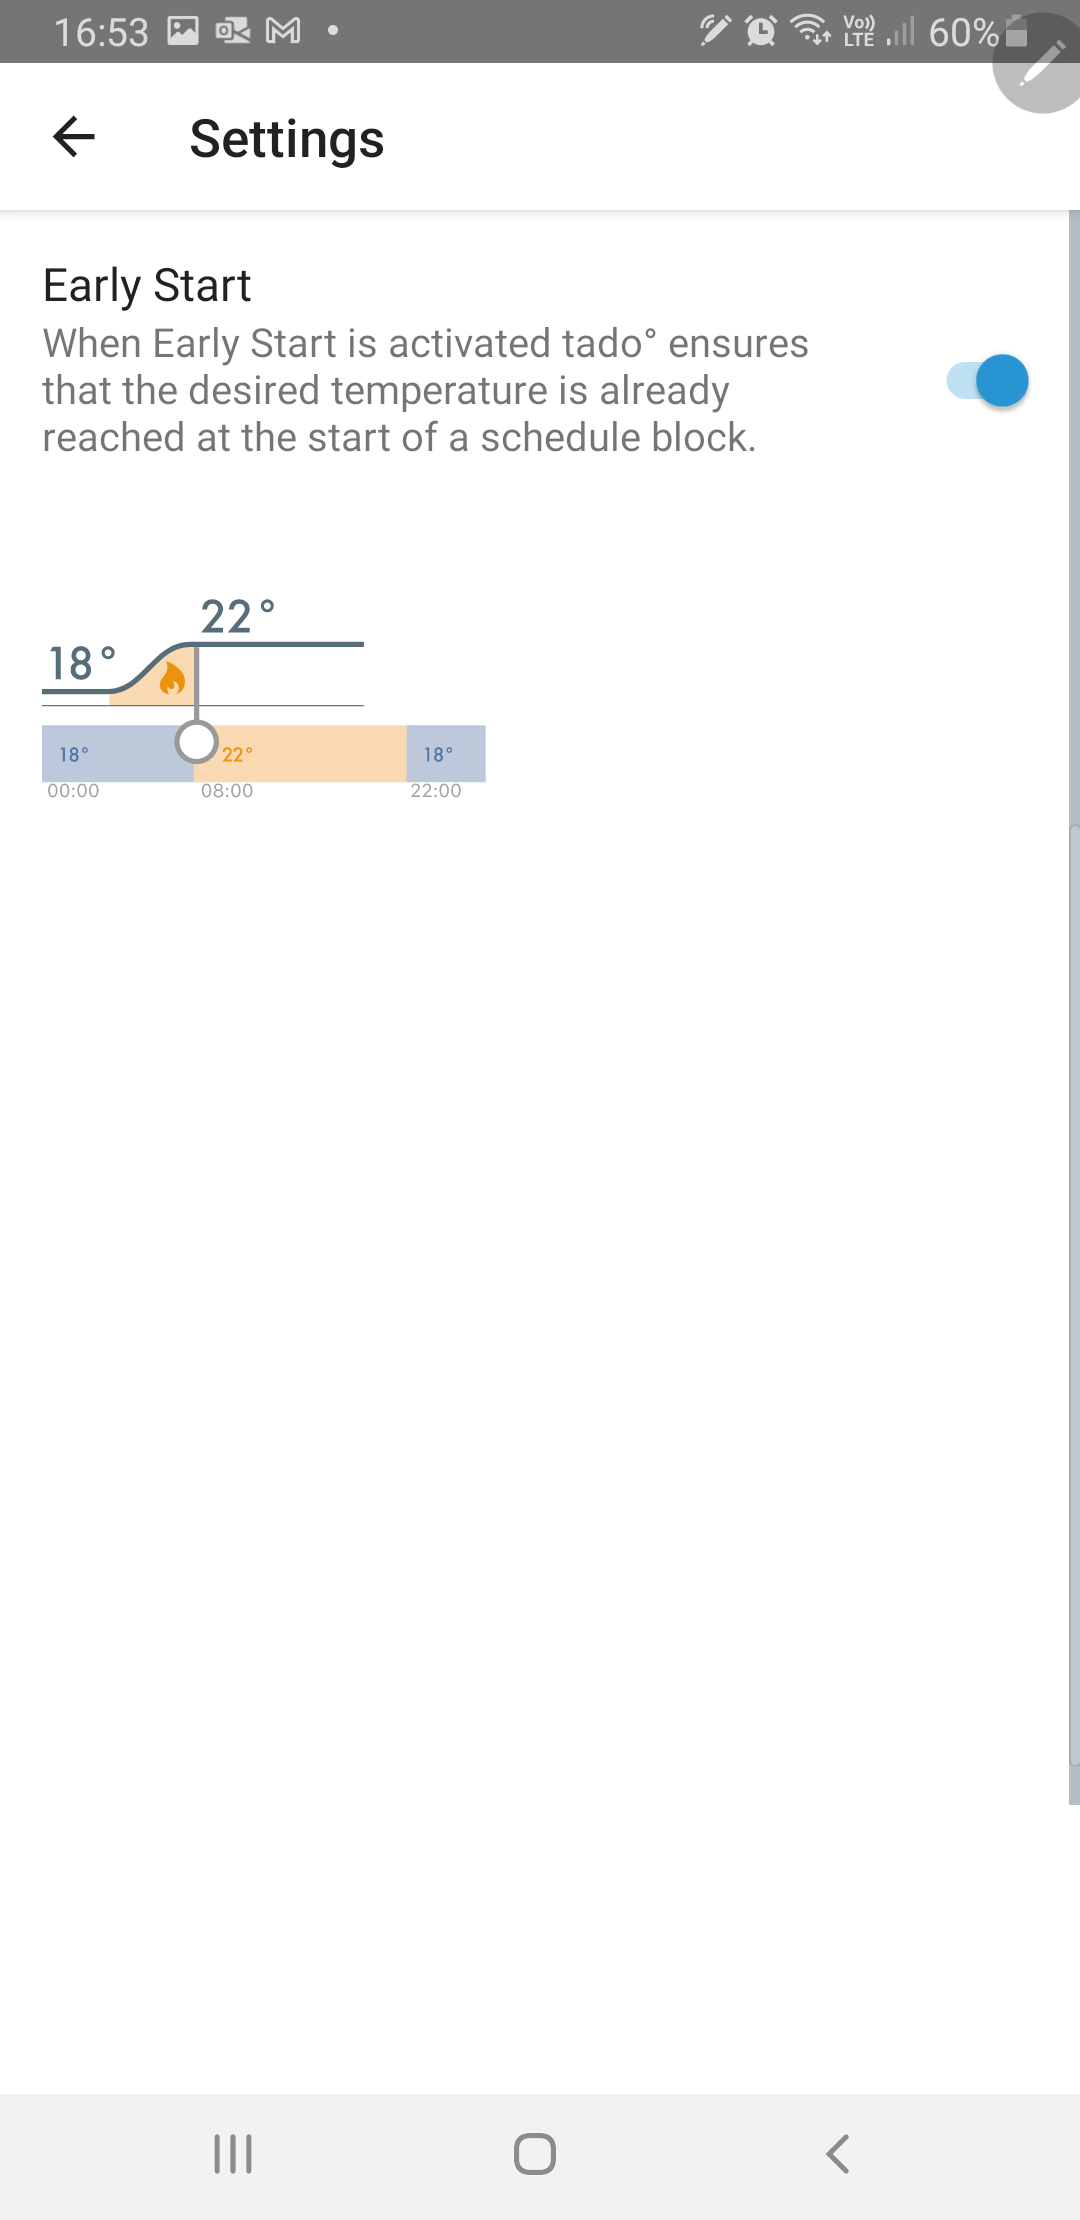
The app lets me add time blocks rather than just one or two on/off periods in a day. Each block can be a different temperature. You can choose to use the smartness to fire up the boiler in advance so that by the start of a time block, the thermostat is up to the required temperature. That should be very useful in winter.  This morning it fired up about 20 minutes before the set time, because it was only 7 Celsius outside.
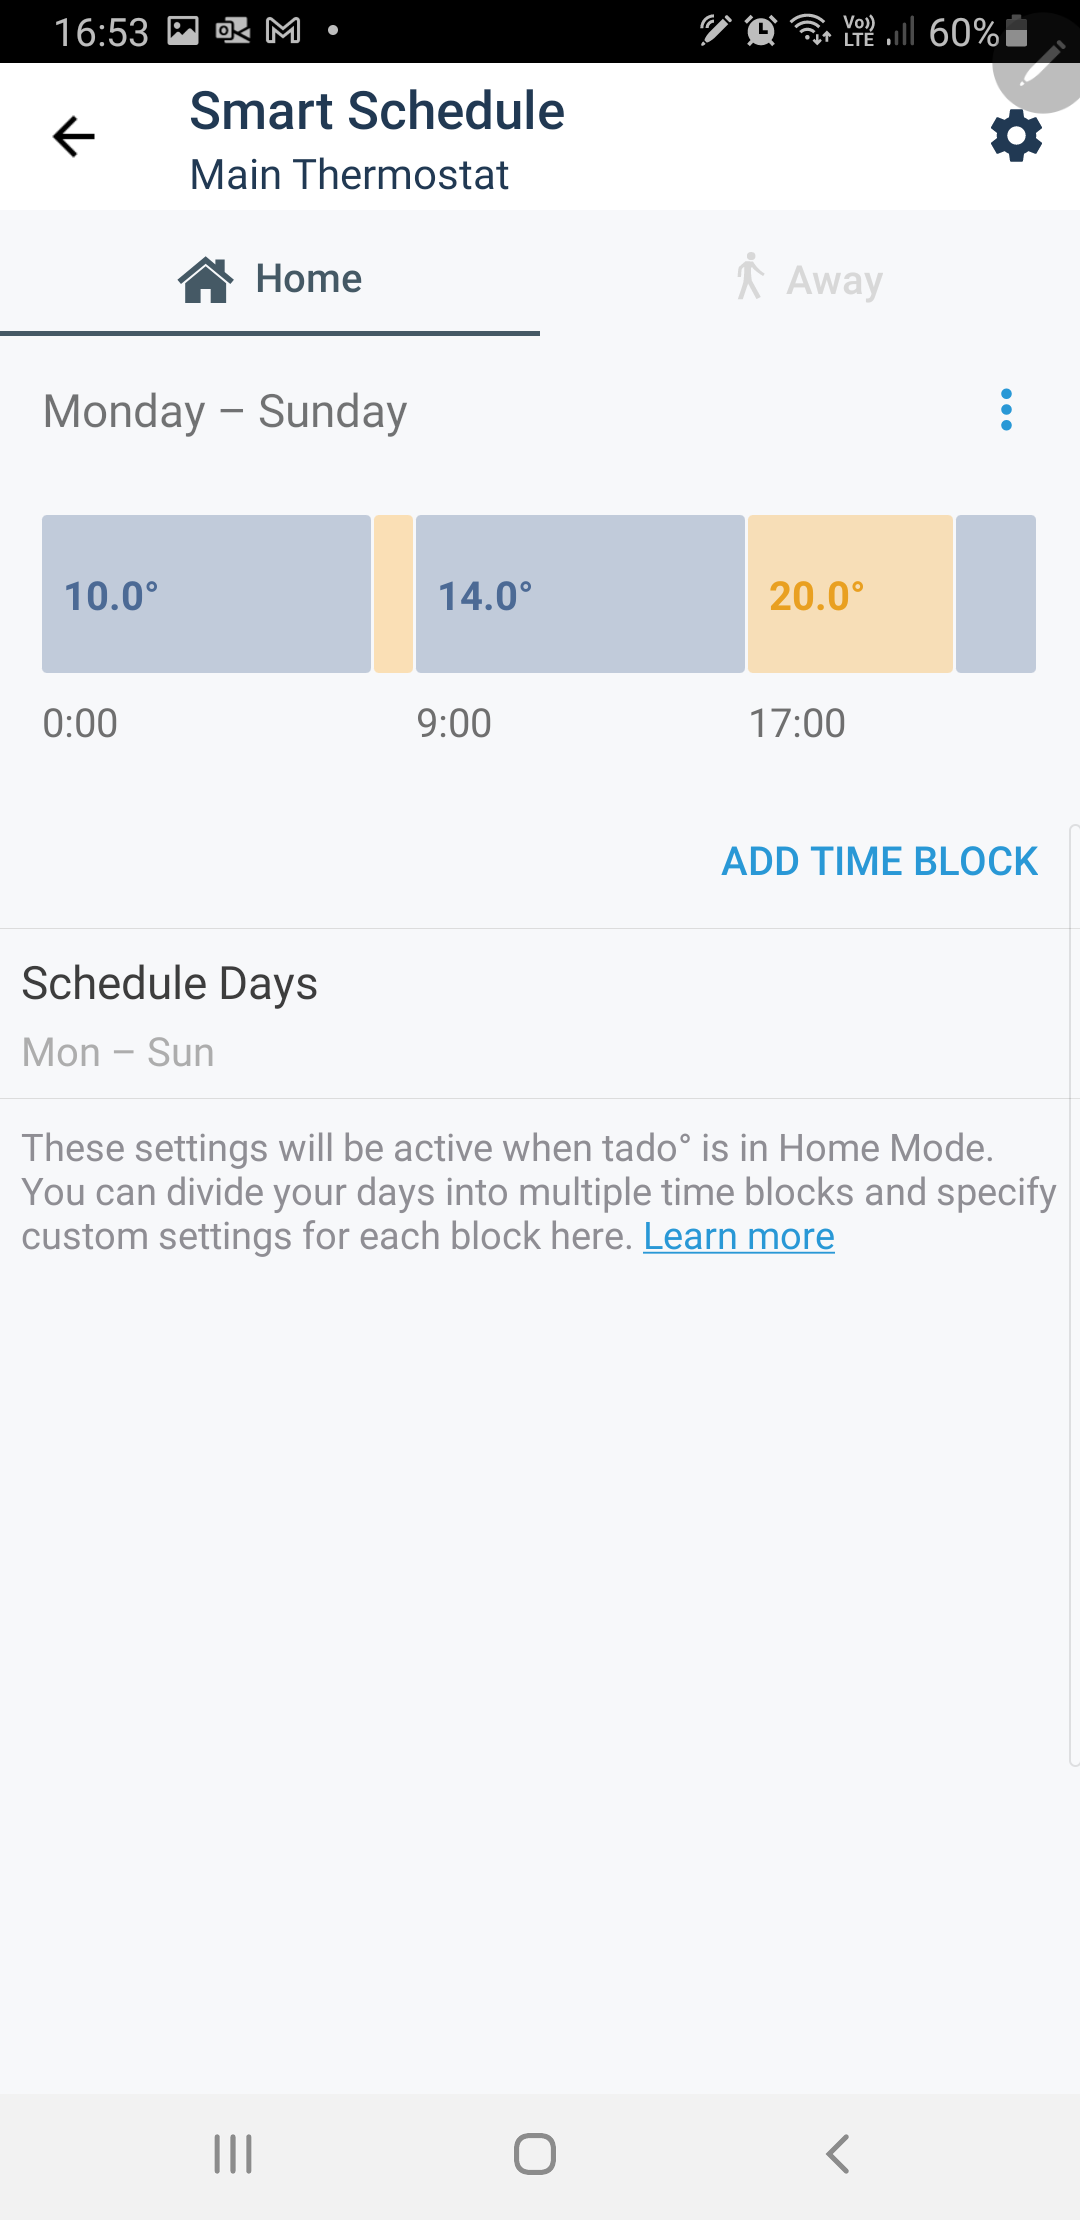


The same options for day and time block apply to the hot water.

I've got my wife to install the app too, so we can use the geofencing. I'm interested to understand how that will know we are returning home, other than that we're within the 400m zone.


This morning, I got an email prompting me to link my tado installation to my OVO account, which I have done.  That promises to give me more money-saving ideas after it has been running a month.  We’ve also recently had our cavity wall insulation filled up this summer as the original had disappeared.
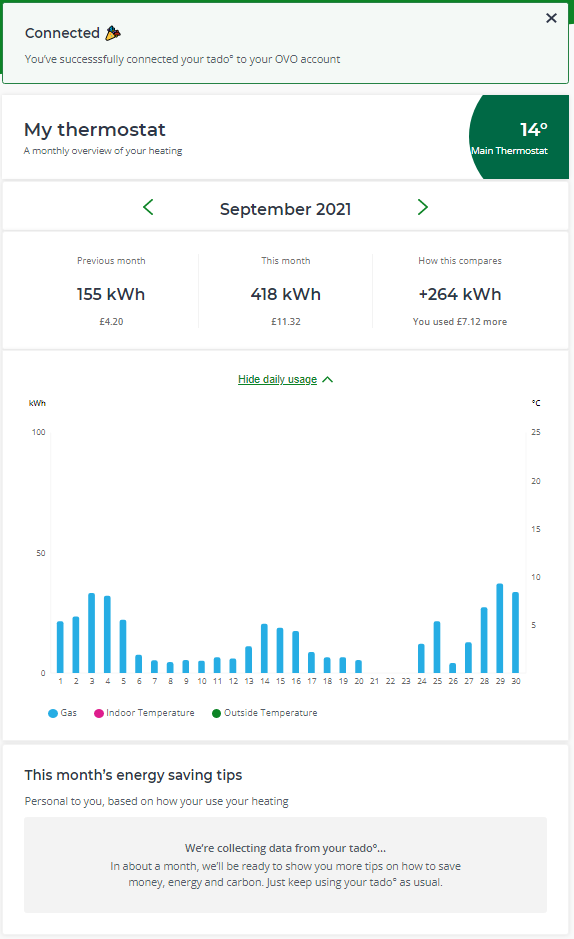
 

I hope this helps.  It seems you can be brave about the 30cm, so long as it isn’t hidden from the internet signal.  Sadly the tado support was lacking and way below the standards that OVO sets for itself.


DO ask if you have questions.

28 replies

Transparent
Rank 20
Rank 20
October 2, 2021

Great narrative @EverythingNeedsAUserName 

Frankly I think this Forum can do better at support than any chat-bot or manual. Let’s see what help we can put together between us.


I’m going to kick off by suggesting multi-core mains control cables (class YY) which can link the boiler to the Tado receiver:

7-core YY mains cable at £1.56/mtr +VAT and 5-core heat-resistant at 64p/mtr +VAT from TLC-Direct

7-core YY control cable

With YY control-cable you get an earth and all the other cores are black. Label them with PVC tape as you proceed. YY-cable may only be used for control signals. It is not certified to carry power to an appliance even tho’ it’s mains-rated.

Screwfix also do a 10m coil of cable type 3095Y (5-core) at £7.52 incl VAT. This has coloured cores. The equivalent from Toolstation costs £8.87. Cable type 3095Y is mains-rated and heat-resistant. It’s normally used for temperature controls close to hot-water cylinders.


If you’re trying to fit a Tado receiver in a position where there was a originally space for a 2-gang control box, I suggest you get a PVC blanking plate. Bolt the Tado receiver to it in the centre, leaving the two screwholes at the ends for the M3.5 bolts to secure onto the existing patrass-box.

PVC faceplates are thin and can be drilled without shattering. Toolstation have them for 59p each. But ignore their photo. It actually looks likes this:

PVC 2-gang faceplate

If you don’t feel able to bolt the Tado receiver to the blanking plate, double-sided tape would probably suffice. Either way the receiver will cover up whatever size hole you’ve made for the cable to pass through. :slight_smile:

Save energy... recycle electrons!
Tim_OVO
OVO Staff
OVO Forum Legend
October 4, 2021

A really insightful walkthrough of your experience, @EverythingNeedsAUserName - great post!


From your experience some of the advice in that instruction manual and parts of that journey (such as your web chat /  bot experience) sound like they need optimising. I’ll share this with the OVO team that are working on Tado related insights - they may be in a position to share this with Tado directly. 


Love the screenshots, this topic is available and ready to help members who may be on the look out for real people’s experiences, at any and all stages of the installation process. 


I’d like to try and get more info on this wiring. I’m comfortable to admit that I wouldn’t be confident myself when dealing with unexpected wires that don’t follow what the installations describe. @EverythingNeedsAUserName or @Transparent can you help novices like me understand why there would be so many ‘mains control cables’. 3 cables splitting into 10 wires. 


Where to start with this? When is it best to get an electrician? @PeterR1947 would appreciate your advice here), what risks of things like an electrical shock are there? 

Carbon neutral - we need a community to get there! My green tech: Aclara SGM 1411-B smart meter, Chameleon IHD6
Transparent
Rank 20
Rank 20
October 4, 2021

Three cables feeding into a central-heating control point is quite common @Tim_OVO.

There is one to supply the electricity needed by the thermostat/time-clock itself.

The second cable connects back to the boiler with a ‘switched live’, telling it when to operate.

Cable number three goes to the 3-port valve which directs boiler output either to radiators or a DHW cylinder. That’s usually a 3-wire plus earth cable, but can be 4- or-5-wire if the controller receives feedback from the motorised valve.

Moreover, if the house had been through a couple of previous boiler or time-clock replacements in its time, then those cables could be a rich assortment of wiring colours! :scream:

A ‘black’ wire could be a neutral or a live control-signal to the 3-port valve.


And at this point you begin to realise that a cut-price offer on a wonderful new ‘wireless’ smart thermostat might result in some considerable time being spent by a qualified electrician or heating-engineer to install the receiver end. All this costs money.


Here’s an example of a YY Control-cable connecting to a box on my own Thermal-store. It’s got 5 internal wires, including two blacks. I’ve labelled it so you can see what each does:


This is definitely the ‘right’ way to connect this box to the manifold control unit on the next floor-level. But many installers wouldn’t carry such an exotic cable.

Instead they’ll use the common mains cables for lighting circuits (1.5mm²) and label the conductors at each end (hopefully!).

If a cable doesn’t have enough cores, they’ll simply run another cable alongside it.

Save energy... recycle electrons!
PeterR1947
Newcomer
Newcomer
October 4, 2021

I have a thermostat from Inspire Home Automation and as I chose not to have hot water control, the thermostat simply replaced my existing thermostat so only three existing wires to connect.

It provides similar features to the Tado, Geofencing, Temperature Profiling, temperature warnings etc.  We chose not to have hot water control as we are happy with the timed hot water; if we go away, we turn off the hot water and the PV diverter keeps the hot water going, even on dull days.

PeterR
Transparent
Rank 20
Rank 20
October 5, 2021

Well I didn’t expect that response from @PeterR1947 

Where’s all the warnings about using a qualified electrician and not trying to replace mains thermostats yourself? :astonished:

Save energy... recycle electrons!
PeterR1947
Newcomer
Newcomer
October 5, 2021

Ooops, caught out by @Transparent, yes, if you don’t know what you are doing get an electrician to do it.  Probably best if I don’t mention installing my Solar hot water diverter and my mains thermostat myself.:sunglasses:

PeterR
Rank 7
October 5, 2021

Thanks @Transparent 

I’m not going to add any additional wires to move it further away, as it works as-is, and that’s just more connectors to try and squeeze into a small space.  I was waiting till I could get to the electrical wholesaler to get a blanking plate - and wall box.  I only had single ones in my electrical stores.  It is amazing how much you can collect over 45 years and still not have what you are looking for.

As you said, it wasn’t surprising to find that many cables linked up together.  I WAS surprised to see the tado drawing suggesting it would be a single cable.  That has never been my experience, and I don’t know how it ever could be.

Part of the reason I stuck with the tado help was because I planned to create this post.  I thought I needed to experience the full process.  I just didn’t expect it to be so long winded and useless.

With that in mind, I chased up the unanswered email about the incorrect wiring diagram for the thermostat. I was told that they’d answered a similar question from me about the receiver so didn’t think it needed answering!  Astounding, as that first answer said to connect the earth wire to the earth terminal on the receiver (as I’d told them I was doing). But the tado thermostat is wireless, so doesn’t have any terminals - so their first reply can’t have been applicable.  I hope they fix their diagrams.

So far the tado is working. The absolute requirement for siting 30cm away seems to have been unnecessary.

3.99kW solar 2015, 12kWh batteries 2022, Tado.
PeterR1947
Newcomer
Newcomer
October 5, 2021

@EverythingNeedsAUserName good decision “If it ain’t broke, don’t fix it”

PeterR
Rank 7
October 5, 2021

INITIAL THOUGHTS ON OPERATION after 4 days

  • The ease of setting differing times and temperatures compared to the previous system is wonderful.  Rather than being too hot getting up, we’re set for 18° briefly, then (for now) 14° during the day on the basis that unless it gets really cold, it won’t kick in; then 20° for the evening. 
  • We’ve only used the AWAY setting on the very first night.
  • It is now easy to see how the house cools down overnight and daytime, but perhaps not as much as I’d thought.  I now wish I’d had this before we got the cavity wall insulation filled back up, so I could see whether it made a difference.
  • The “Early Start” setting is clearly operating.  It fires up the heating up to an hour beforehand.  
  • We’ve already experienced the “Open Window Detection” - except that it was the front door.
  • The app gives MORE information than the web site!  But it isn’t as easy to read. I’ve not found a way of getting any data out - just graphs.  The data appears to refresh every minute - you can press and hold your smartphone screen and move across to see the precise information at any one time.
Web site App


No  Climate Report icon


 Climate Report icon top right

The following screenshots are only in the app (to get some of these, I’m using “YourPhone” in Windows 10 because on the phone itself, it kept overlaying the navigation bar).
 

This shows when the heating was on; the grey shading shows how hard tado was asking for heat.  I’m not aware of that facility in the boiler itself, which I think is just ON or OFF.  Note how it overshoots the target, apparently designed so that it doesn’t need to turn the boiler on and off too frequently.

The scheduled evening temperature is set for 17:00; to achieve that, tado started to call for heat at 15:59, a full hour in advance.  It hit desired temperature at 17:08.  Before we got the tado, I actually had the old controller set to switch on at 16:00, so it is doing much the same.

The peak was 20.8° and the evening low was 19.8°. You can see how it started to call for heat again - that was at exactly 20°.


3.99kW solar 2015, 12kWh batteries 2022, Tado.
Rank 7
October 6, 2021

Apparently I can get access to the data using their undocumented api using openhab. That's another huge learning curve ahead. 

https://community.tado.com/en-gb/discussion/8/tado-api


3.99kW solar 2015, 12kWh batteries 2022, Tado.