I think @juliamc is correct in everything she writes here. She’s rapidly becoming the group’s expert on the right way to install Heat pumps. 
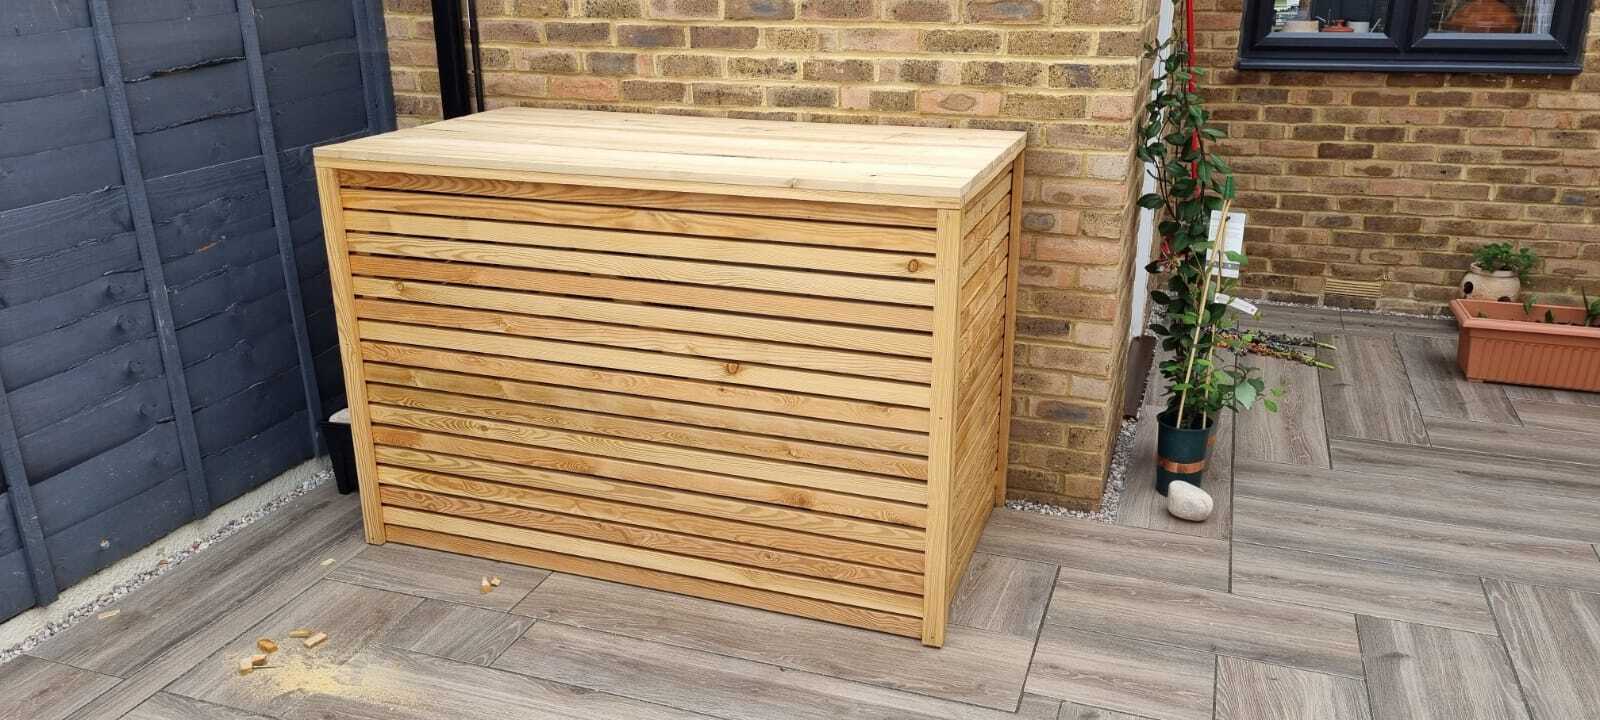
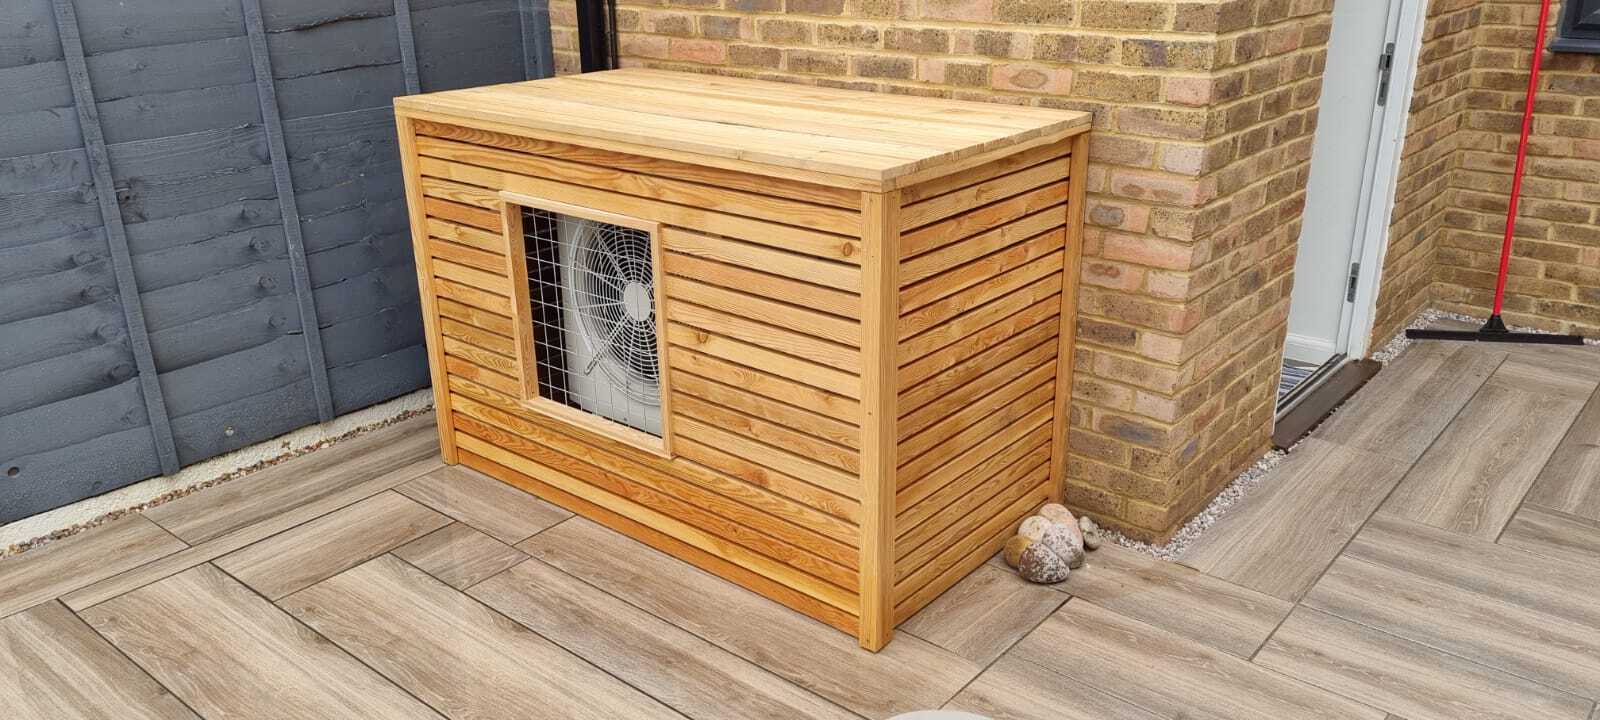
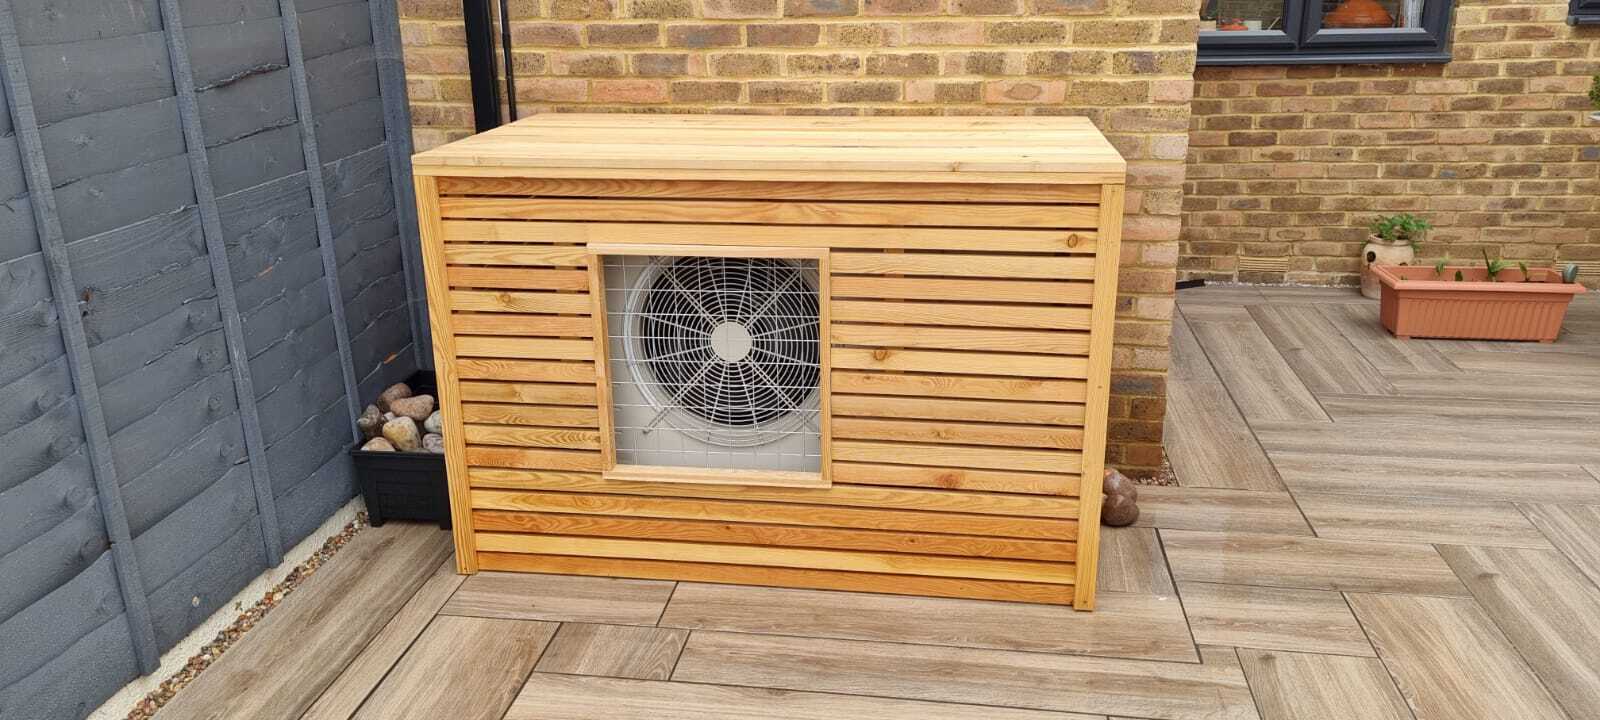
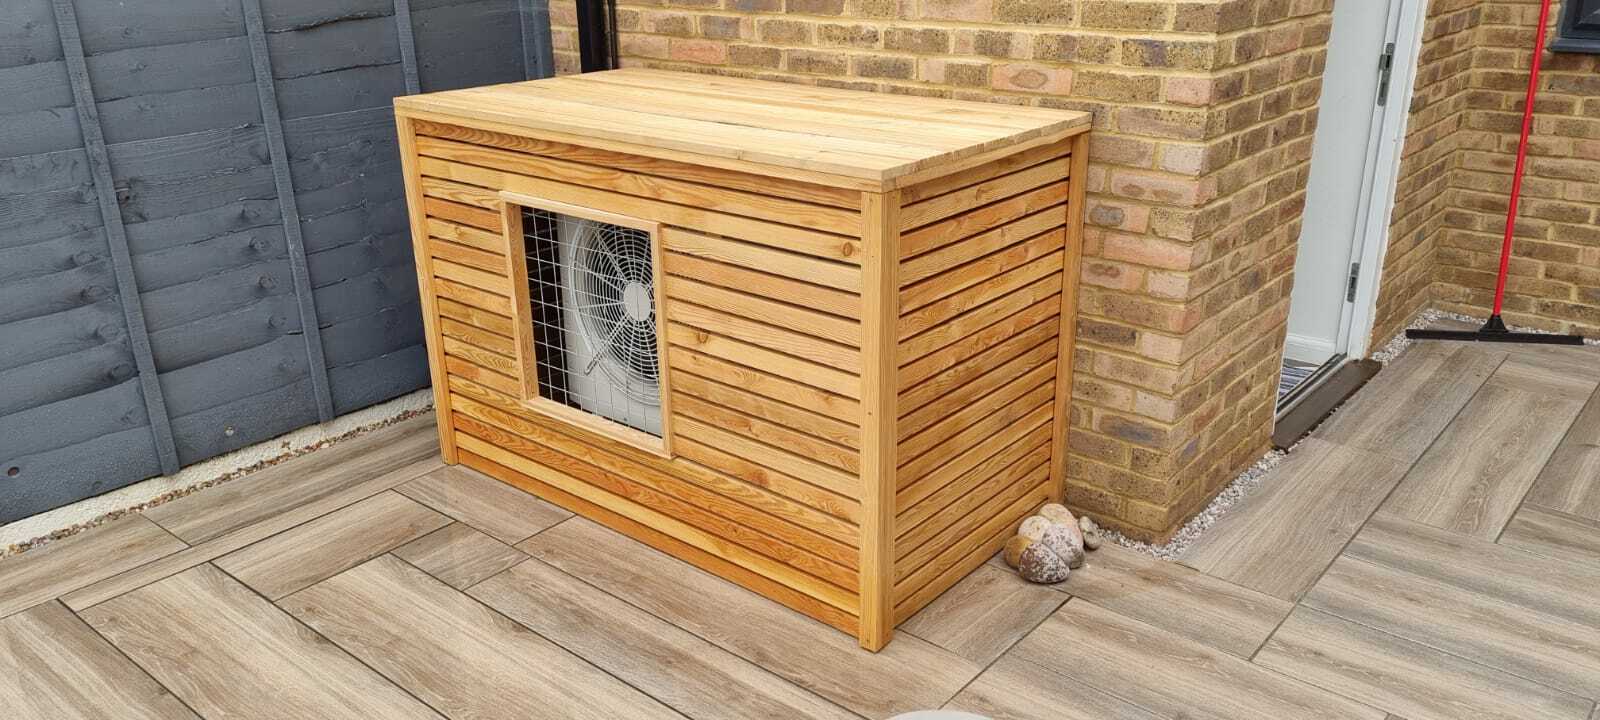
As for the wooden cover…. very attractive styling! 
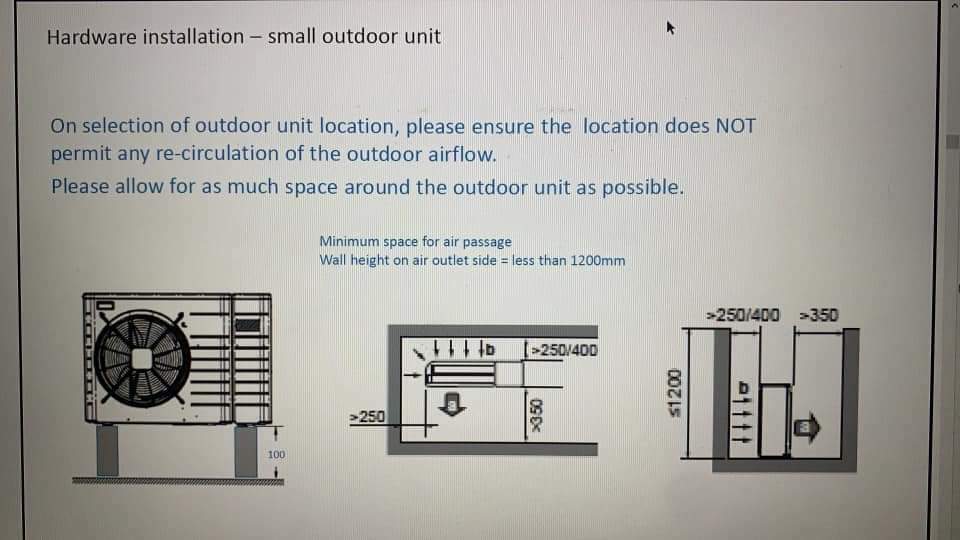
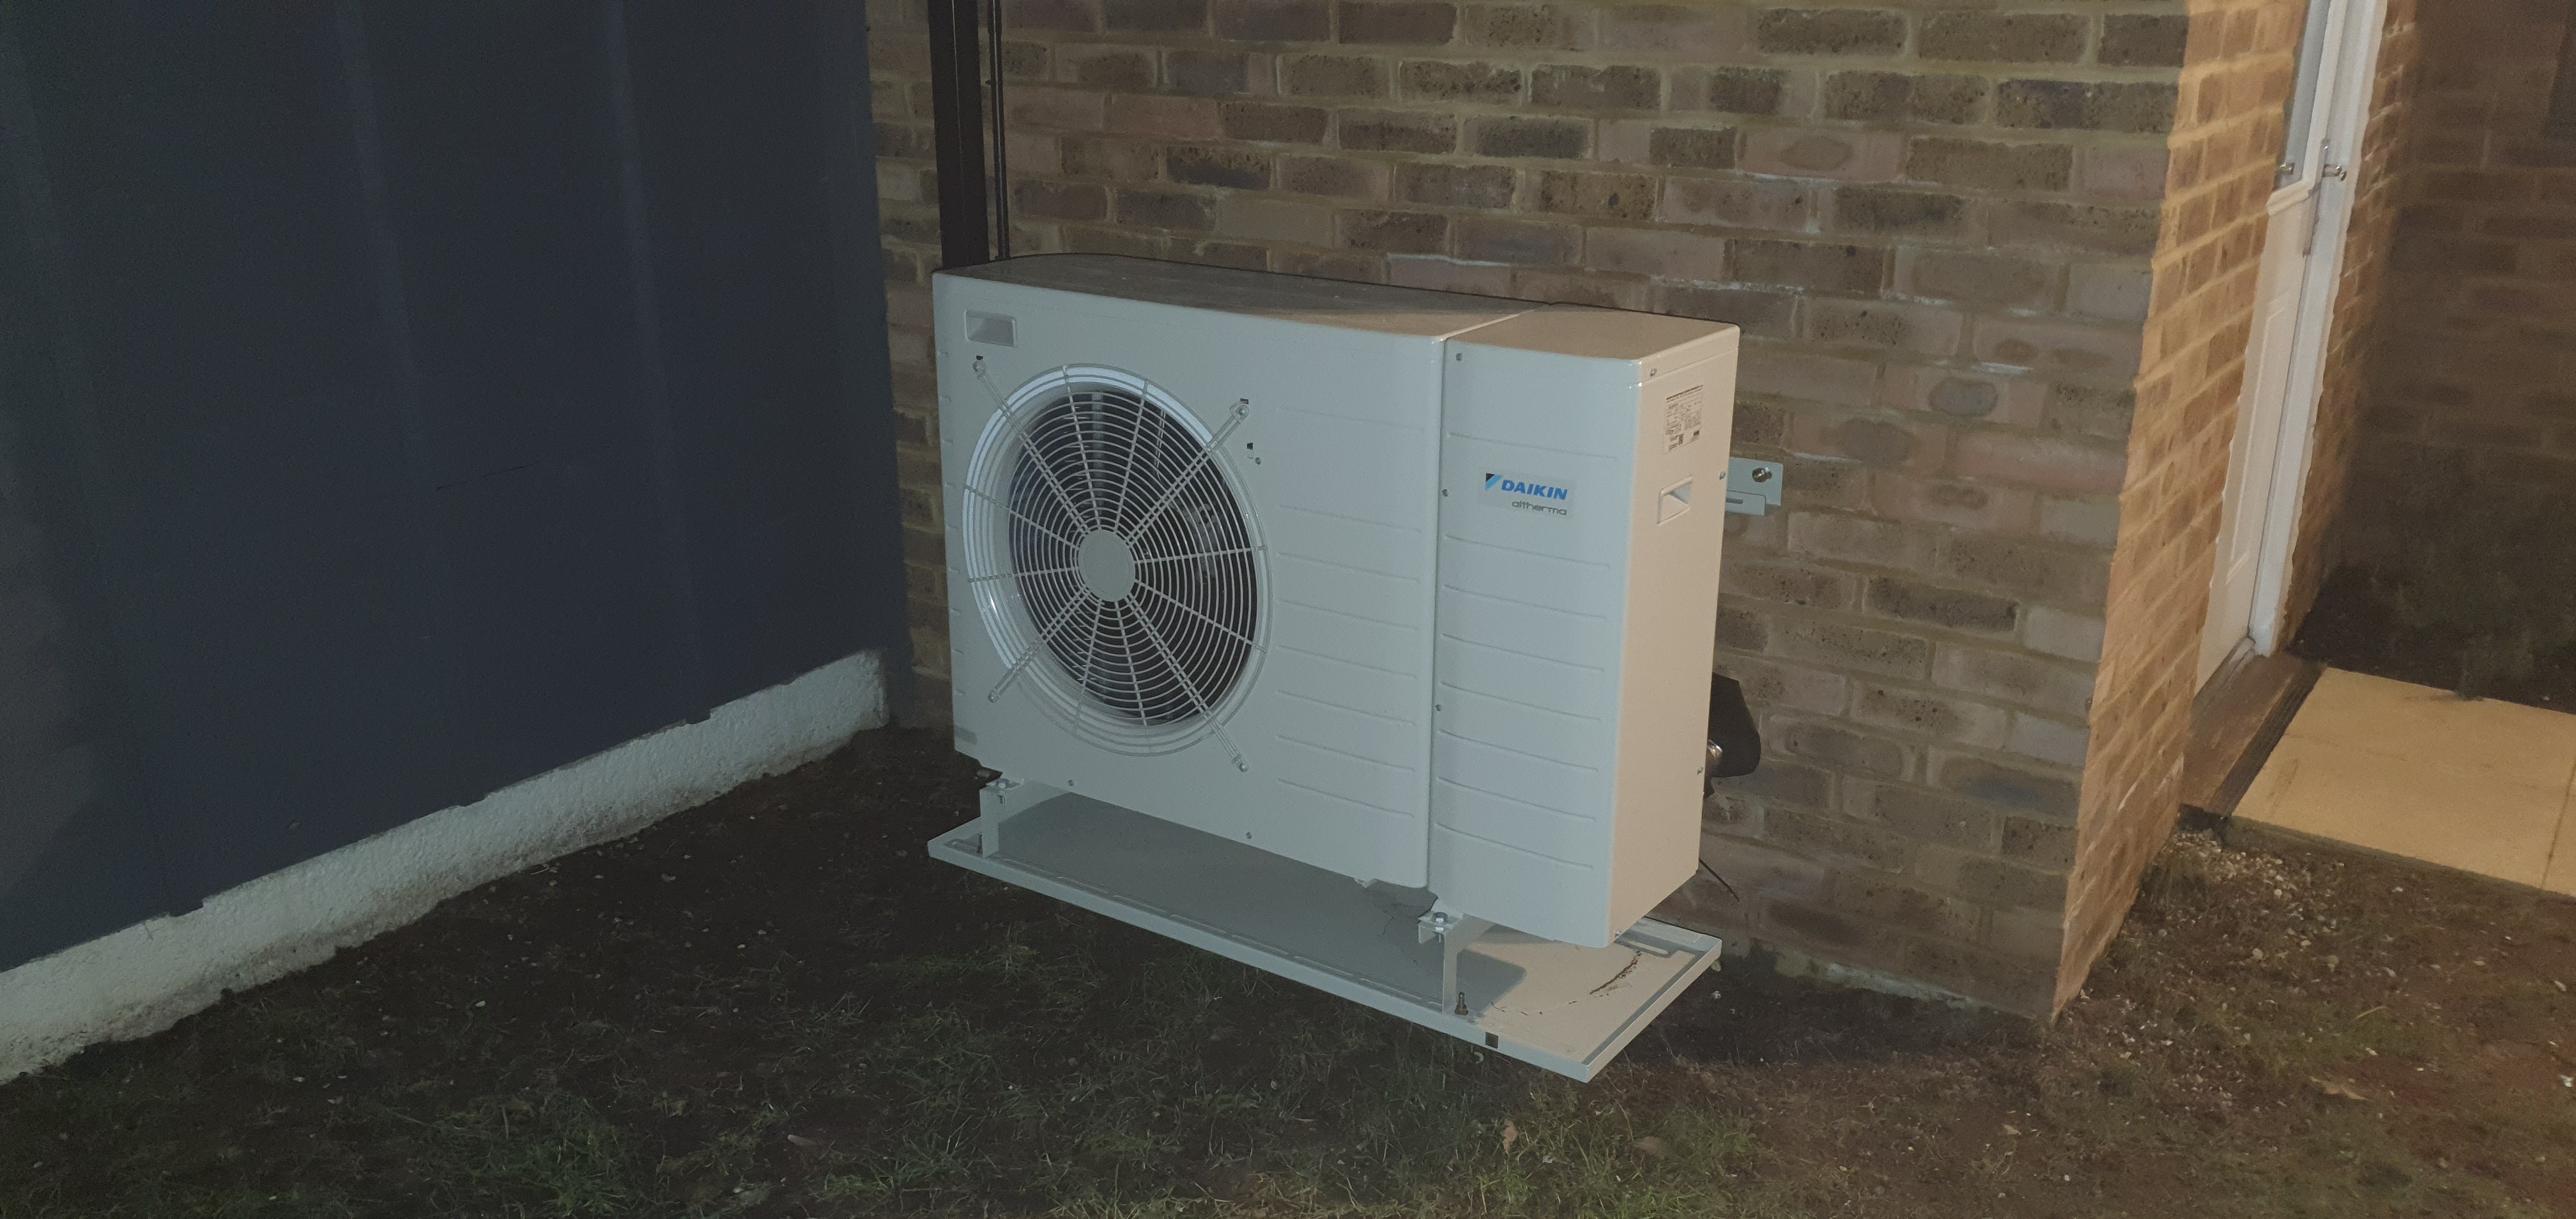
But the distance between the rear of the Heat pump and the wall is calculated to allow sufficient air-flow to be drawn through the heat-exchanger. The cover has significantly restricted this.
The slats on this cover also impede the out-flow. Thus the line of least resistance is for the rear input port to simply suck the air from the front and push it through the heat-exchanger again. It is effectively a partial ‘short-circuit’ of airflow being recycled within the cabinet.


")
")